
Nothing says, “Mini Garden,” quite like a terrarium. Terrariums are a great gift and fun craft to make with kids. Personally, watching them grow is an equally magical part of having one as each plant grows differently in whatever container you use. Succulents are a favorite these days because they are low maintenance and require very little water, which is a good thing because water is pretty rare these days in lovely Sacramento, California. Here is my step-by-step succulent terrarium using a mason jar, plants from my own garden, and tools from my kitchen.
What You Need:
Mason jar
Tiny succulents
Tiny helper hand (optional)
Potting soil (you gan get at Dollar Tree)
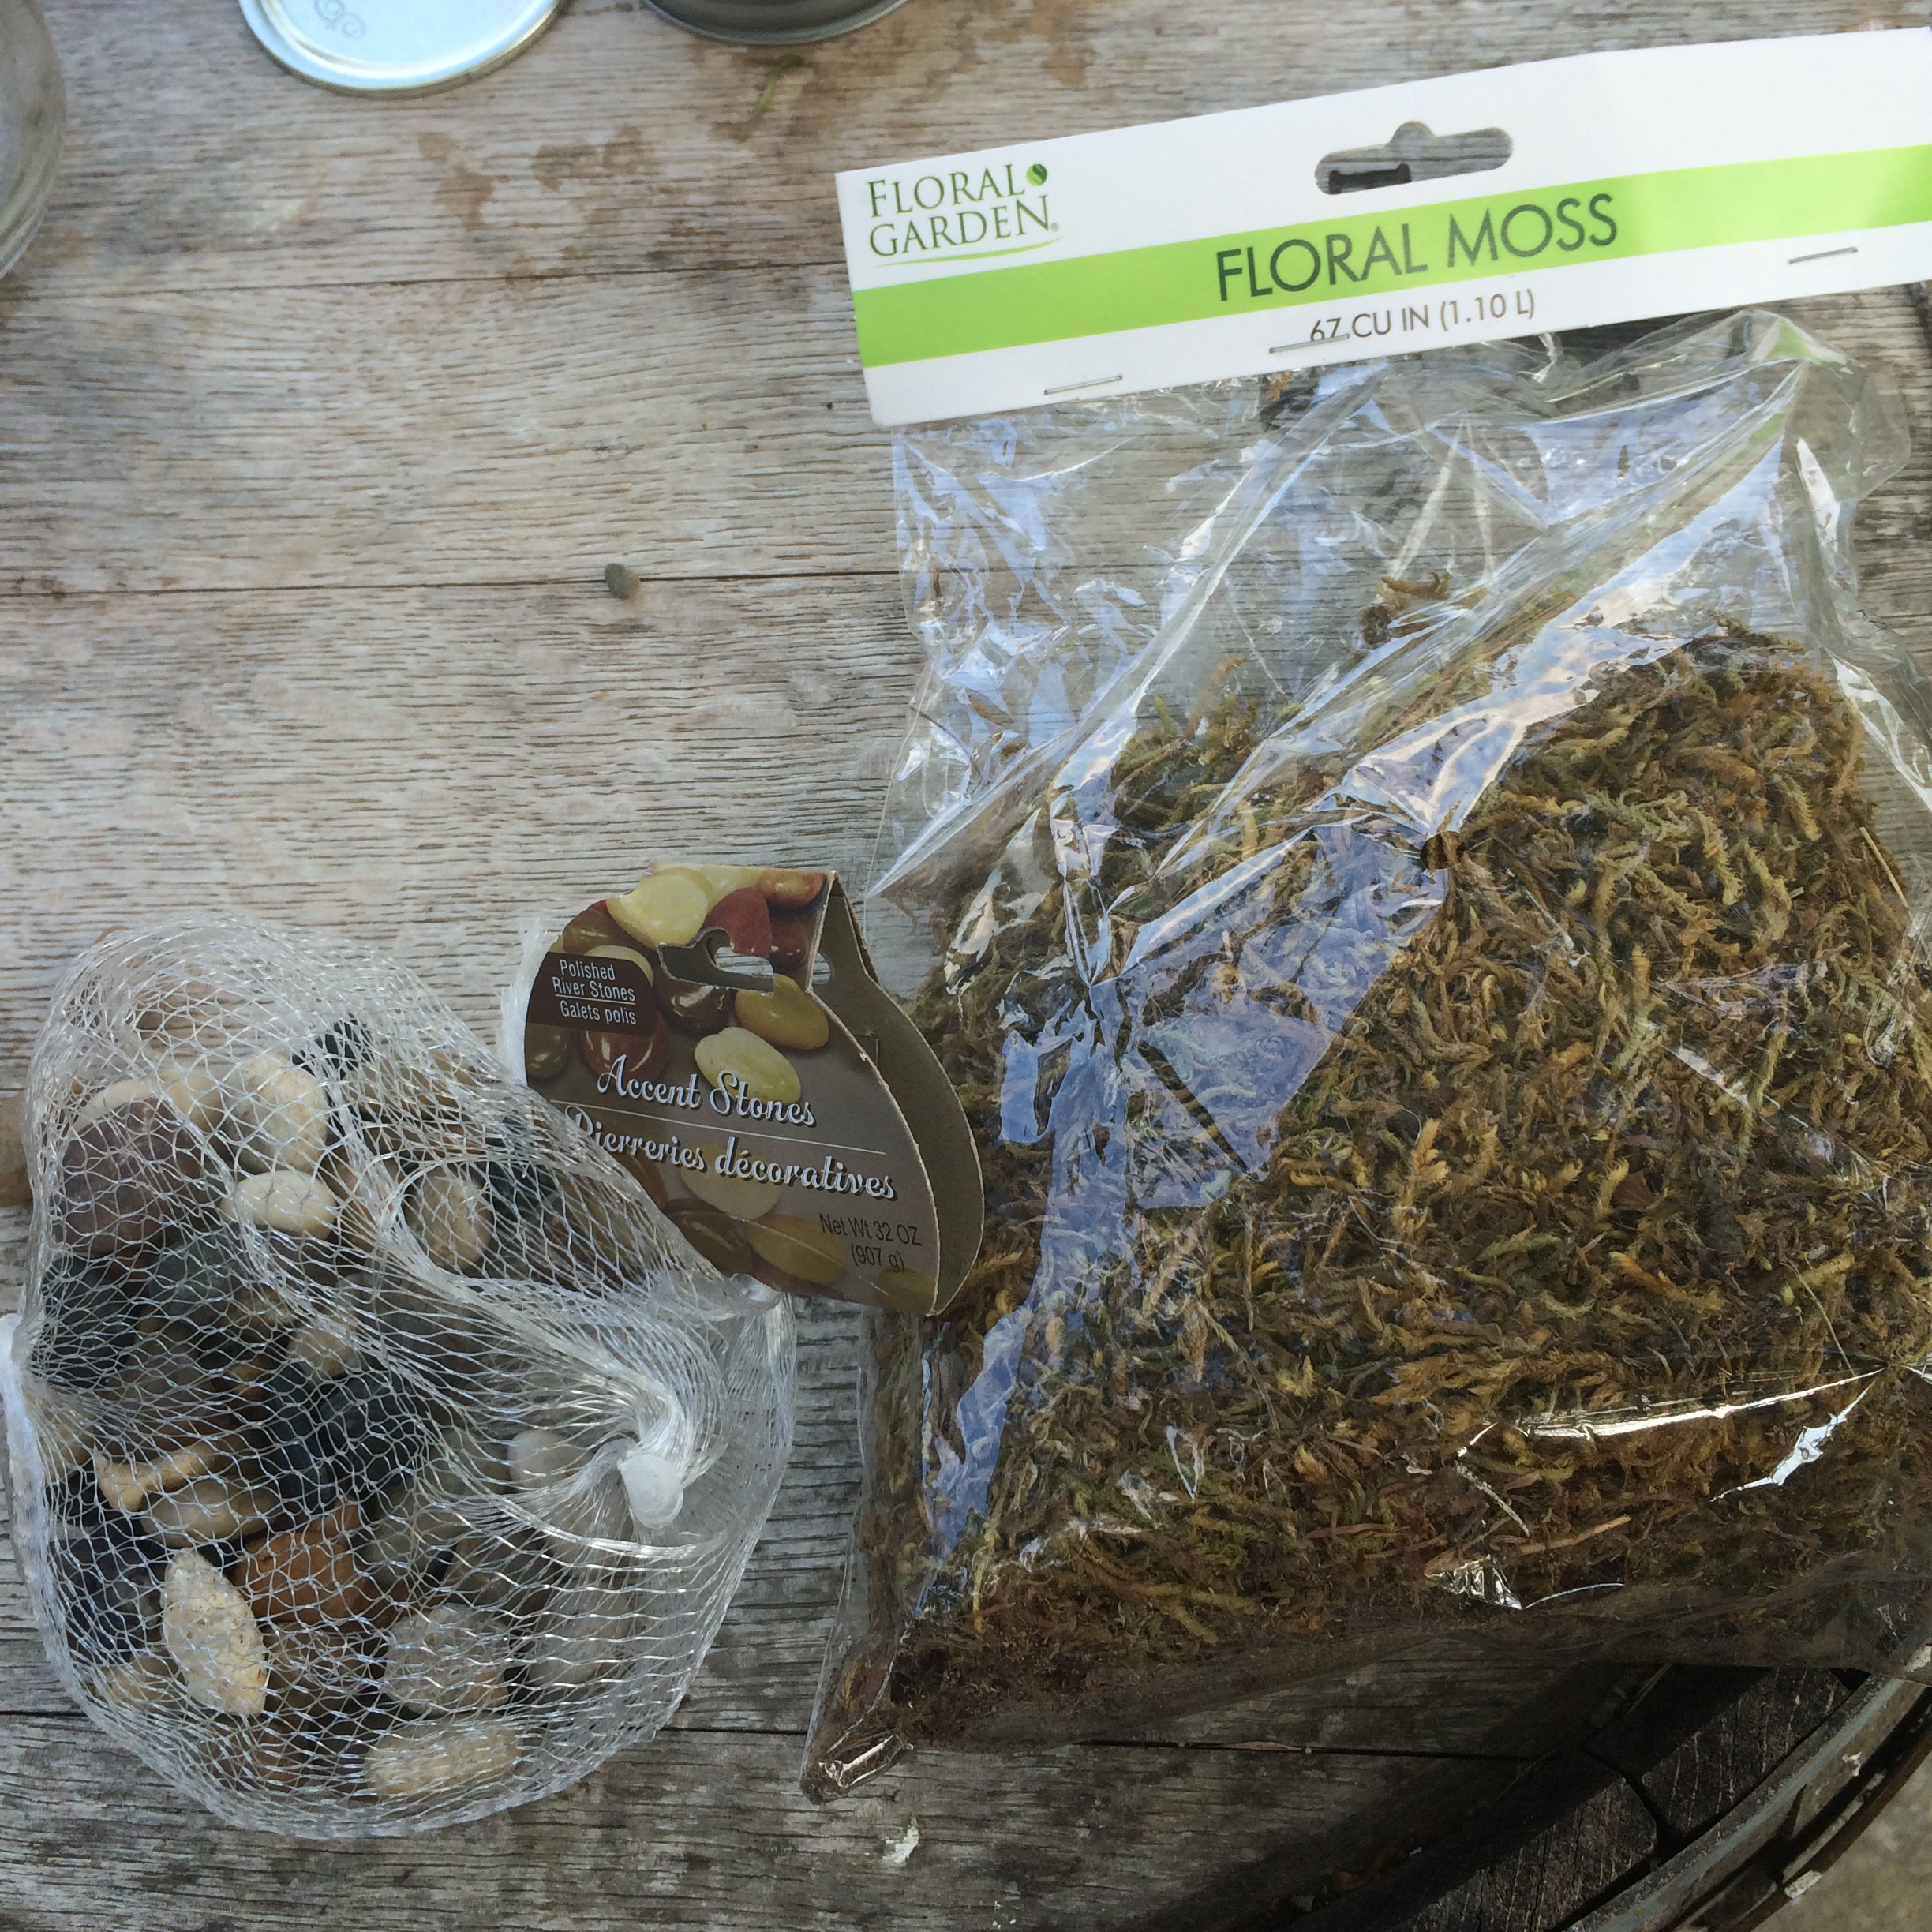
Small rocks (Dollar Tree)
Floral moss (Dollar Tree)
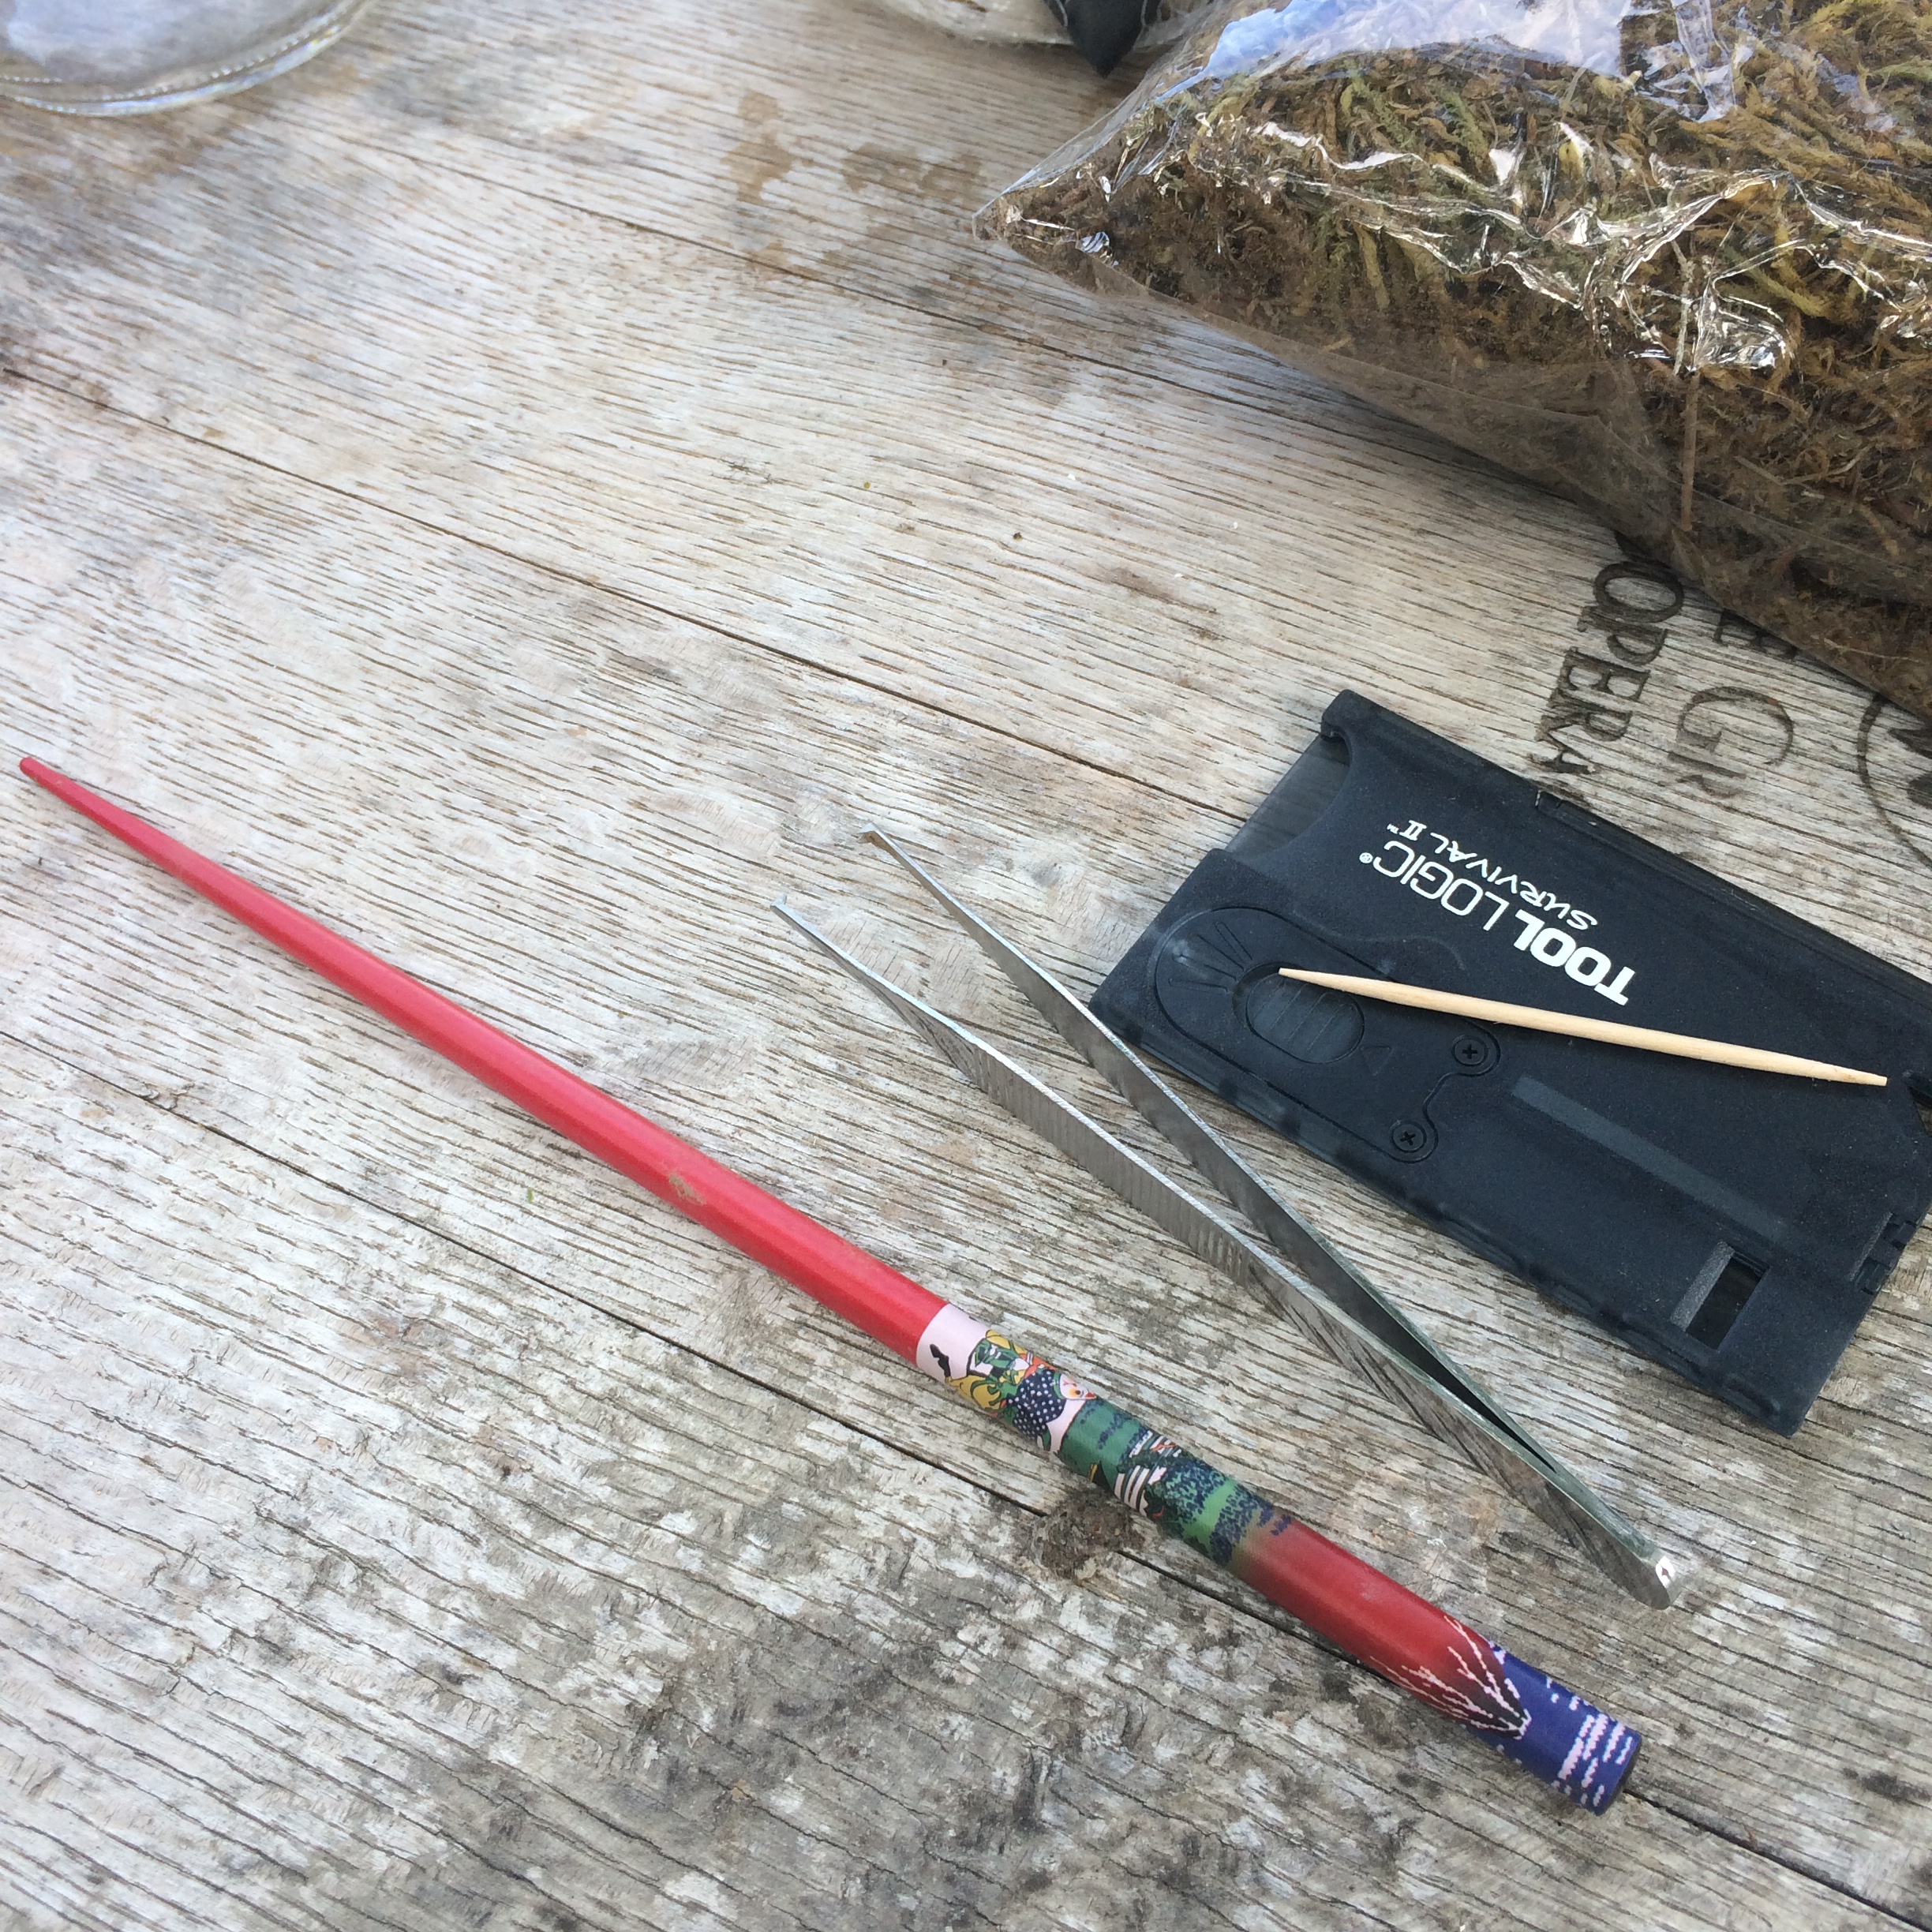
Chop stick
Tweezers
Toothpick
Spoon
Spray bottle with water
Miniature action figure (optional)


One thing to note about terrariums is that they need drainage to prevent the roots of the plants from rotting. There will come a day when you over-water this by accident. Drainage will give you the grace you need. It also gives you the opportunity to create great layers of colors in your jar. I am creating a jungle theme with this one, so I chose earth tones.
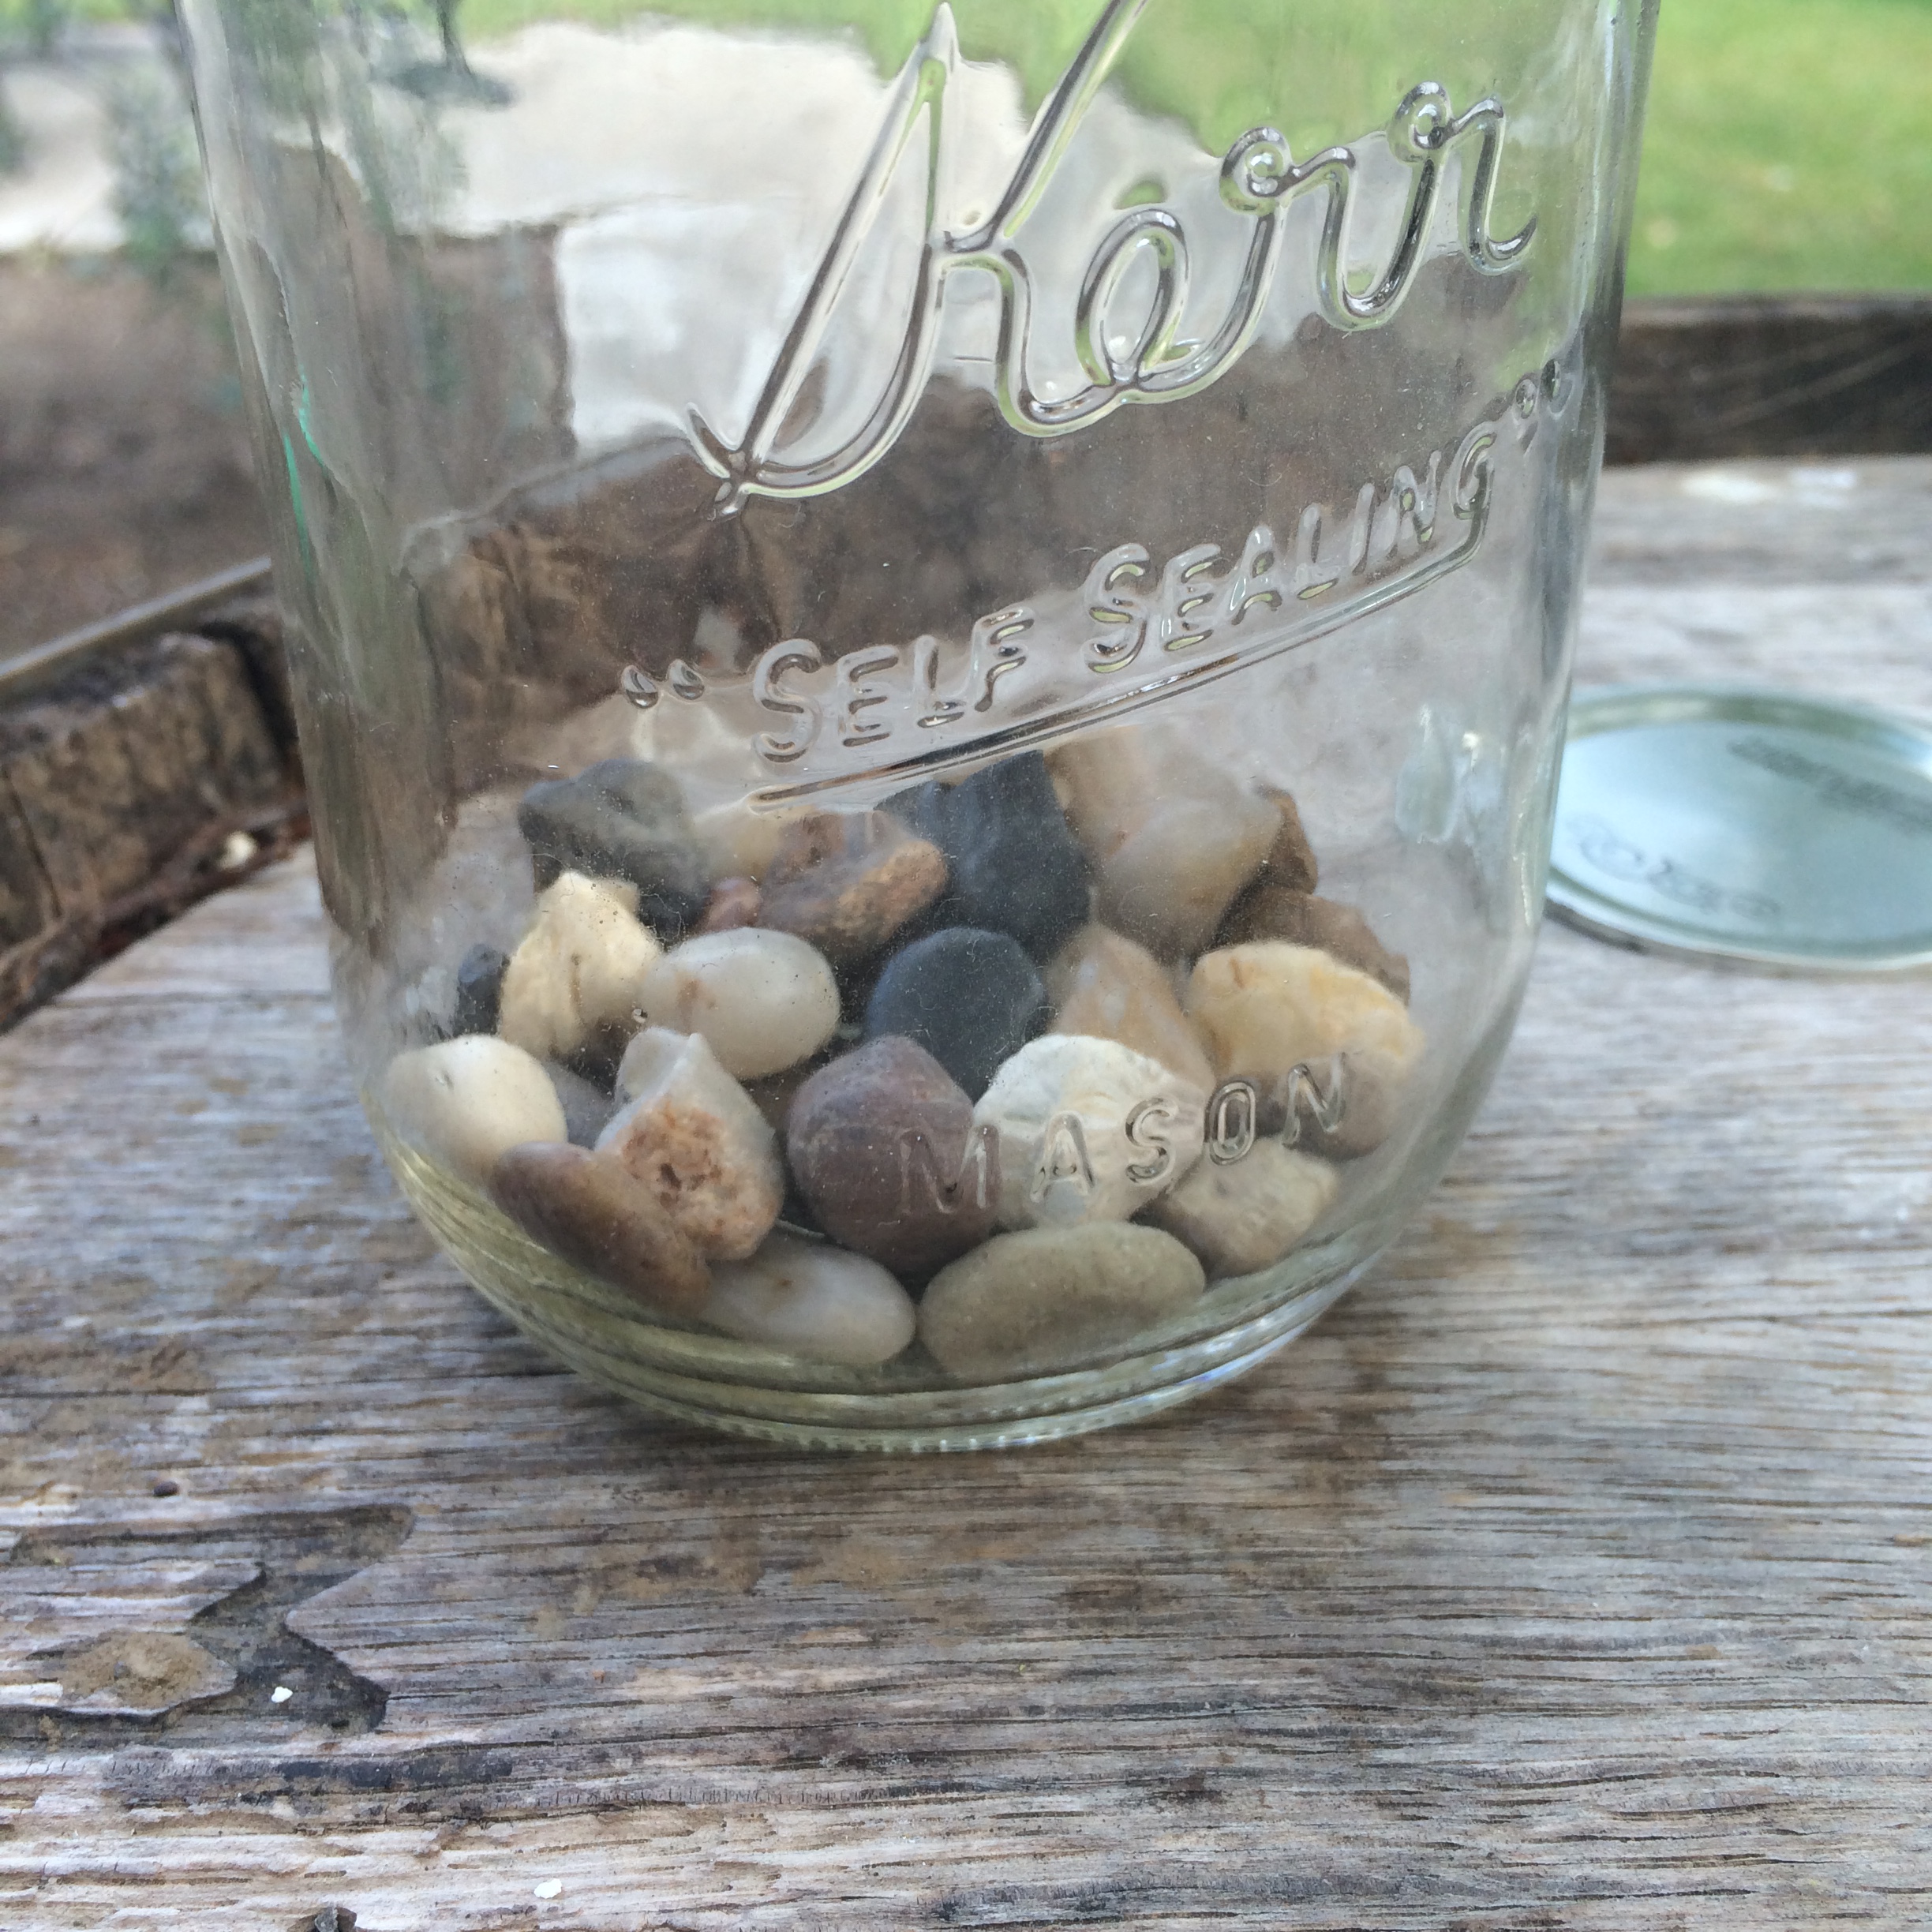
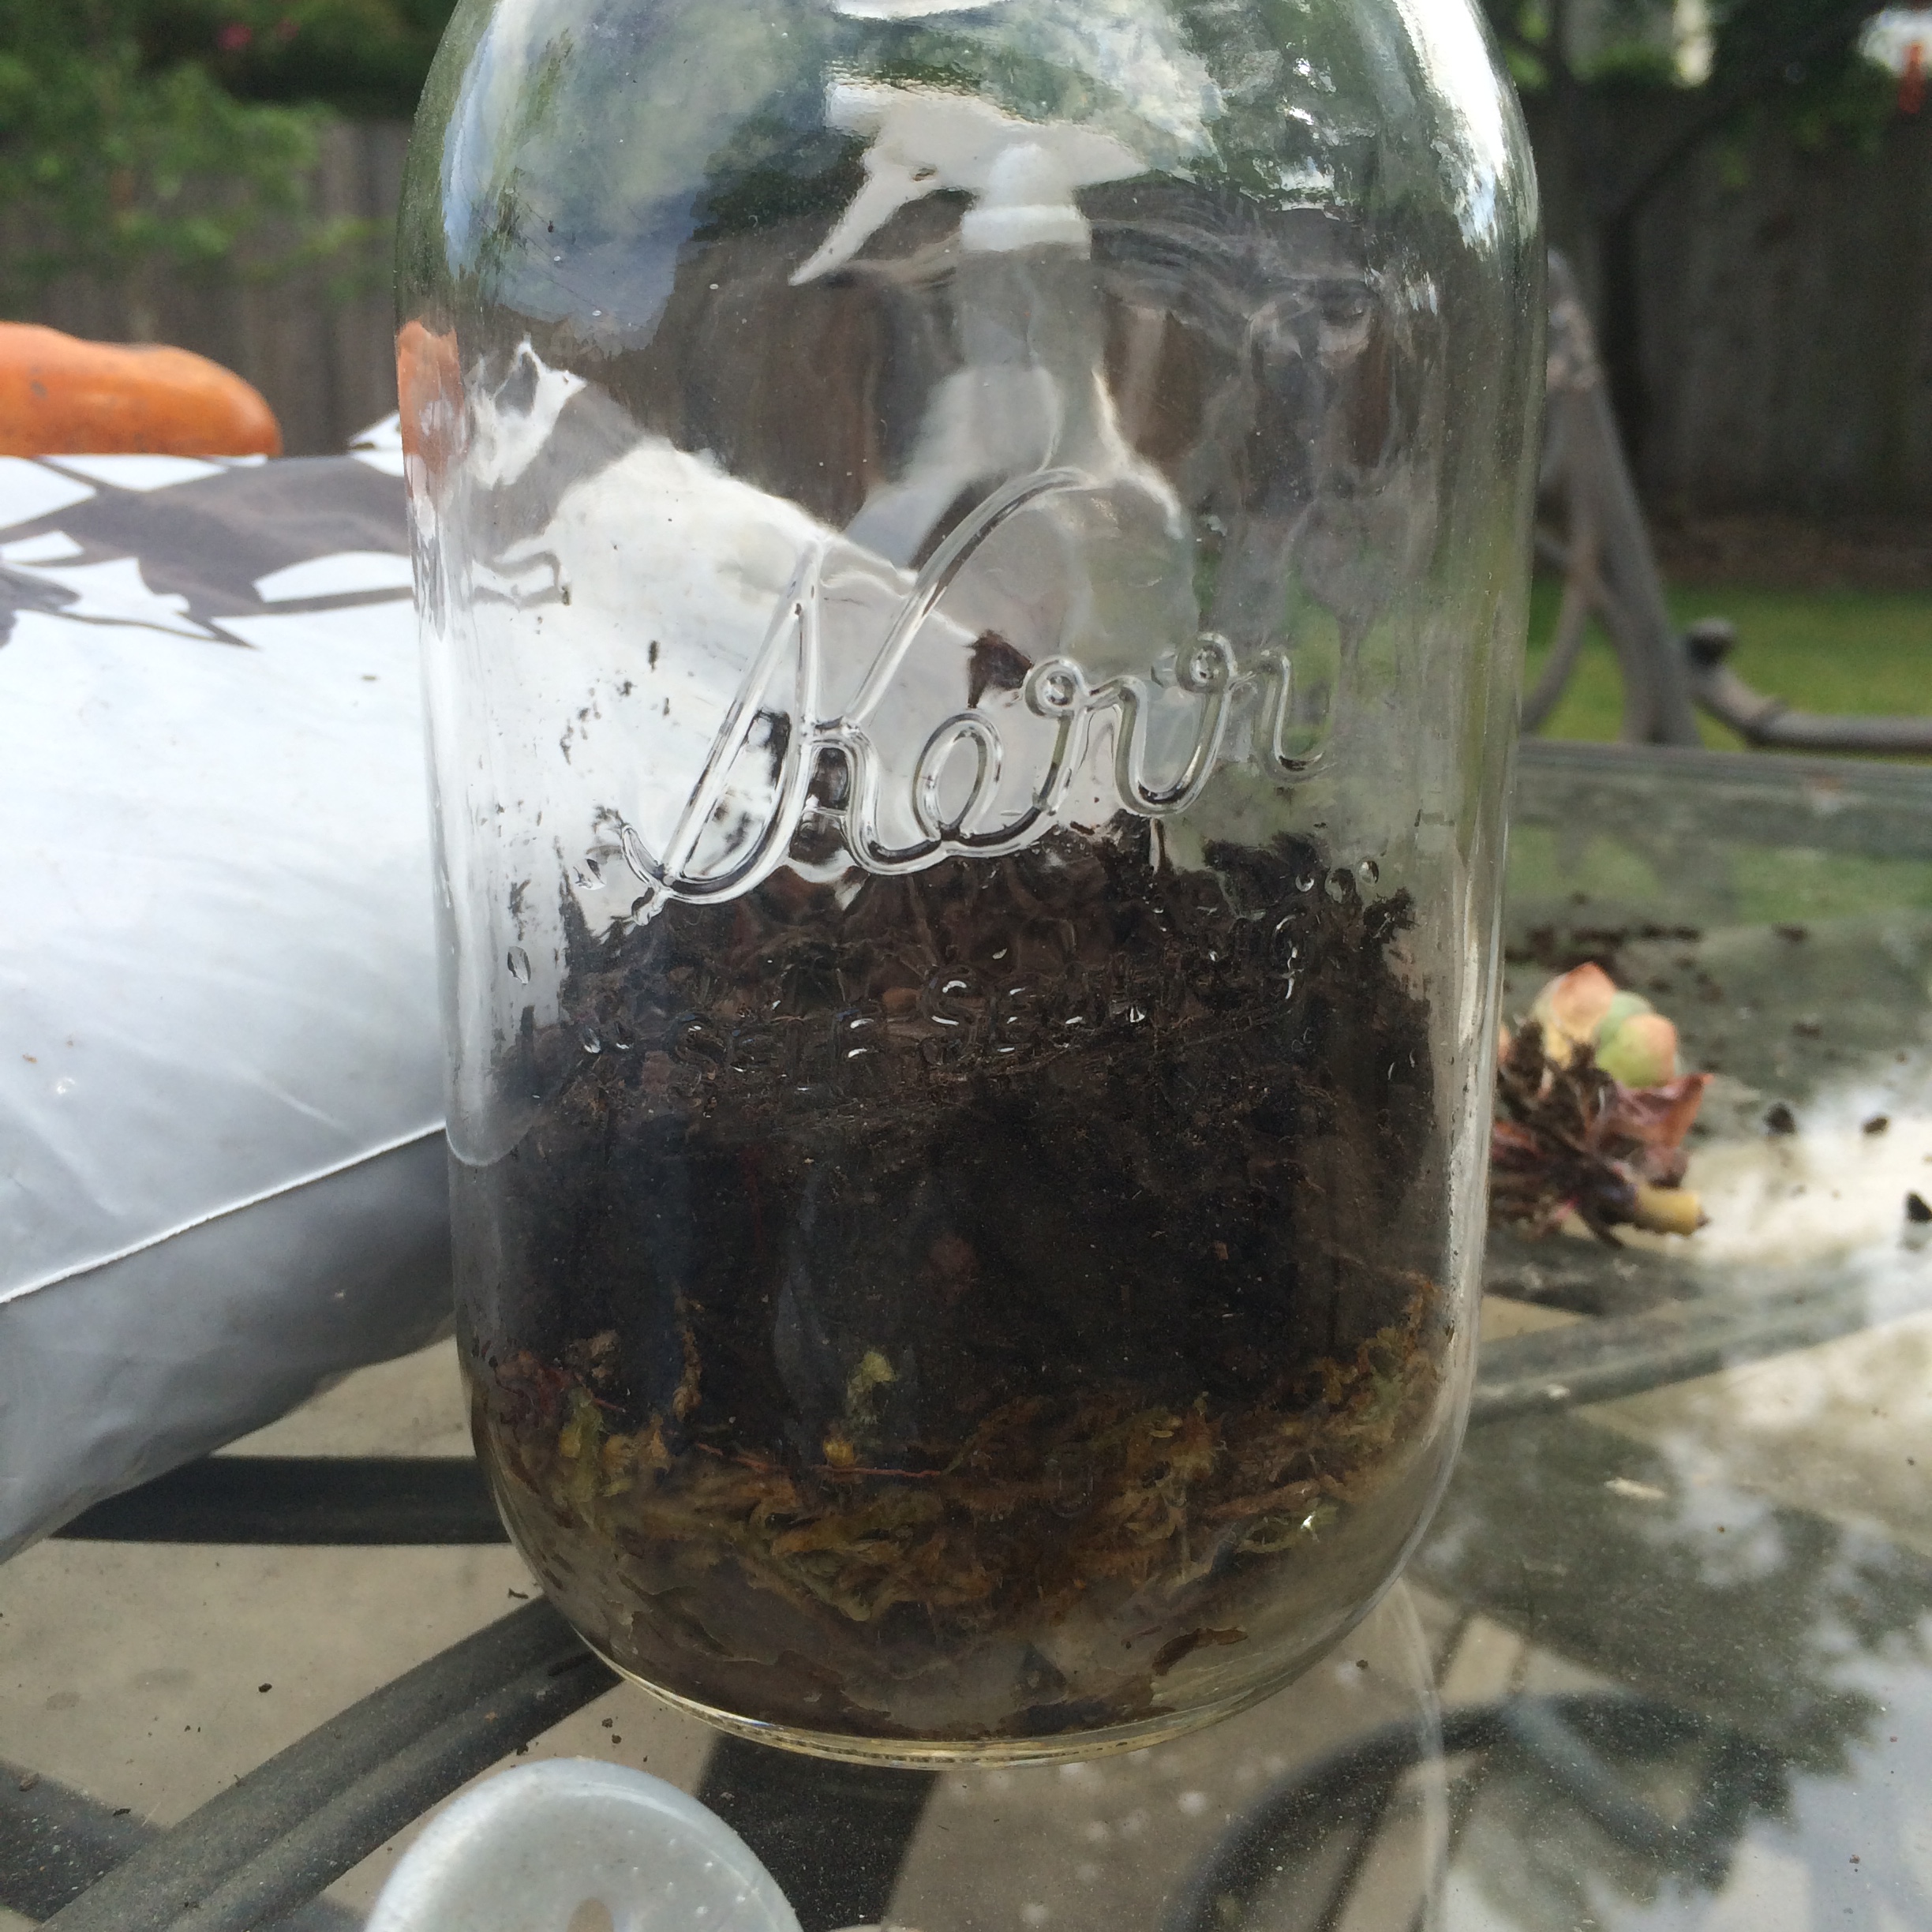
First, place a layer of small rocks at the base of your jar. You can choose any color rock you want! I went with river rock colors. At minimum, make sure your layer of rock covers the entire surface of the bottom of the container. The more rocks you add beyond that will add height to the overall garden inside.
Then, add a layer of moss. Moss comes in all sorts of fun colors too! The purpose of the moss is to create a barrier between the soil and the rocks. If your moss is dry, you can lightly mist it with a spray bottle to get it to pack down. If you want a thin layer of moss, be sure the layer is still dense enough to prevent soil from slipping down into the rocks. This will create the drainage for your garden and add a layered look.

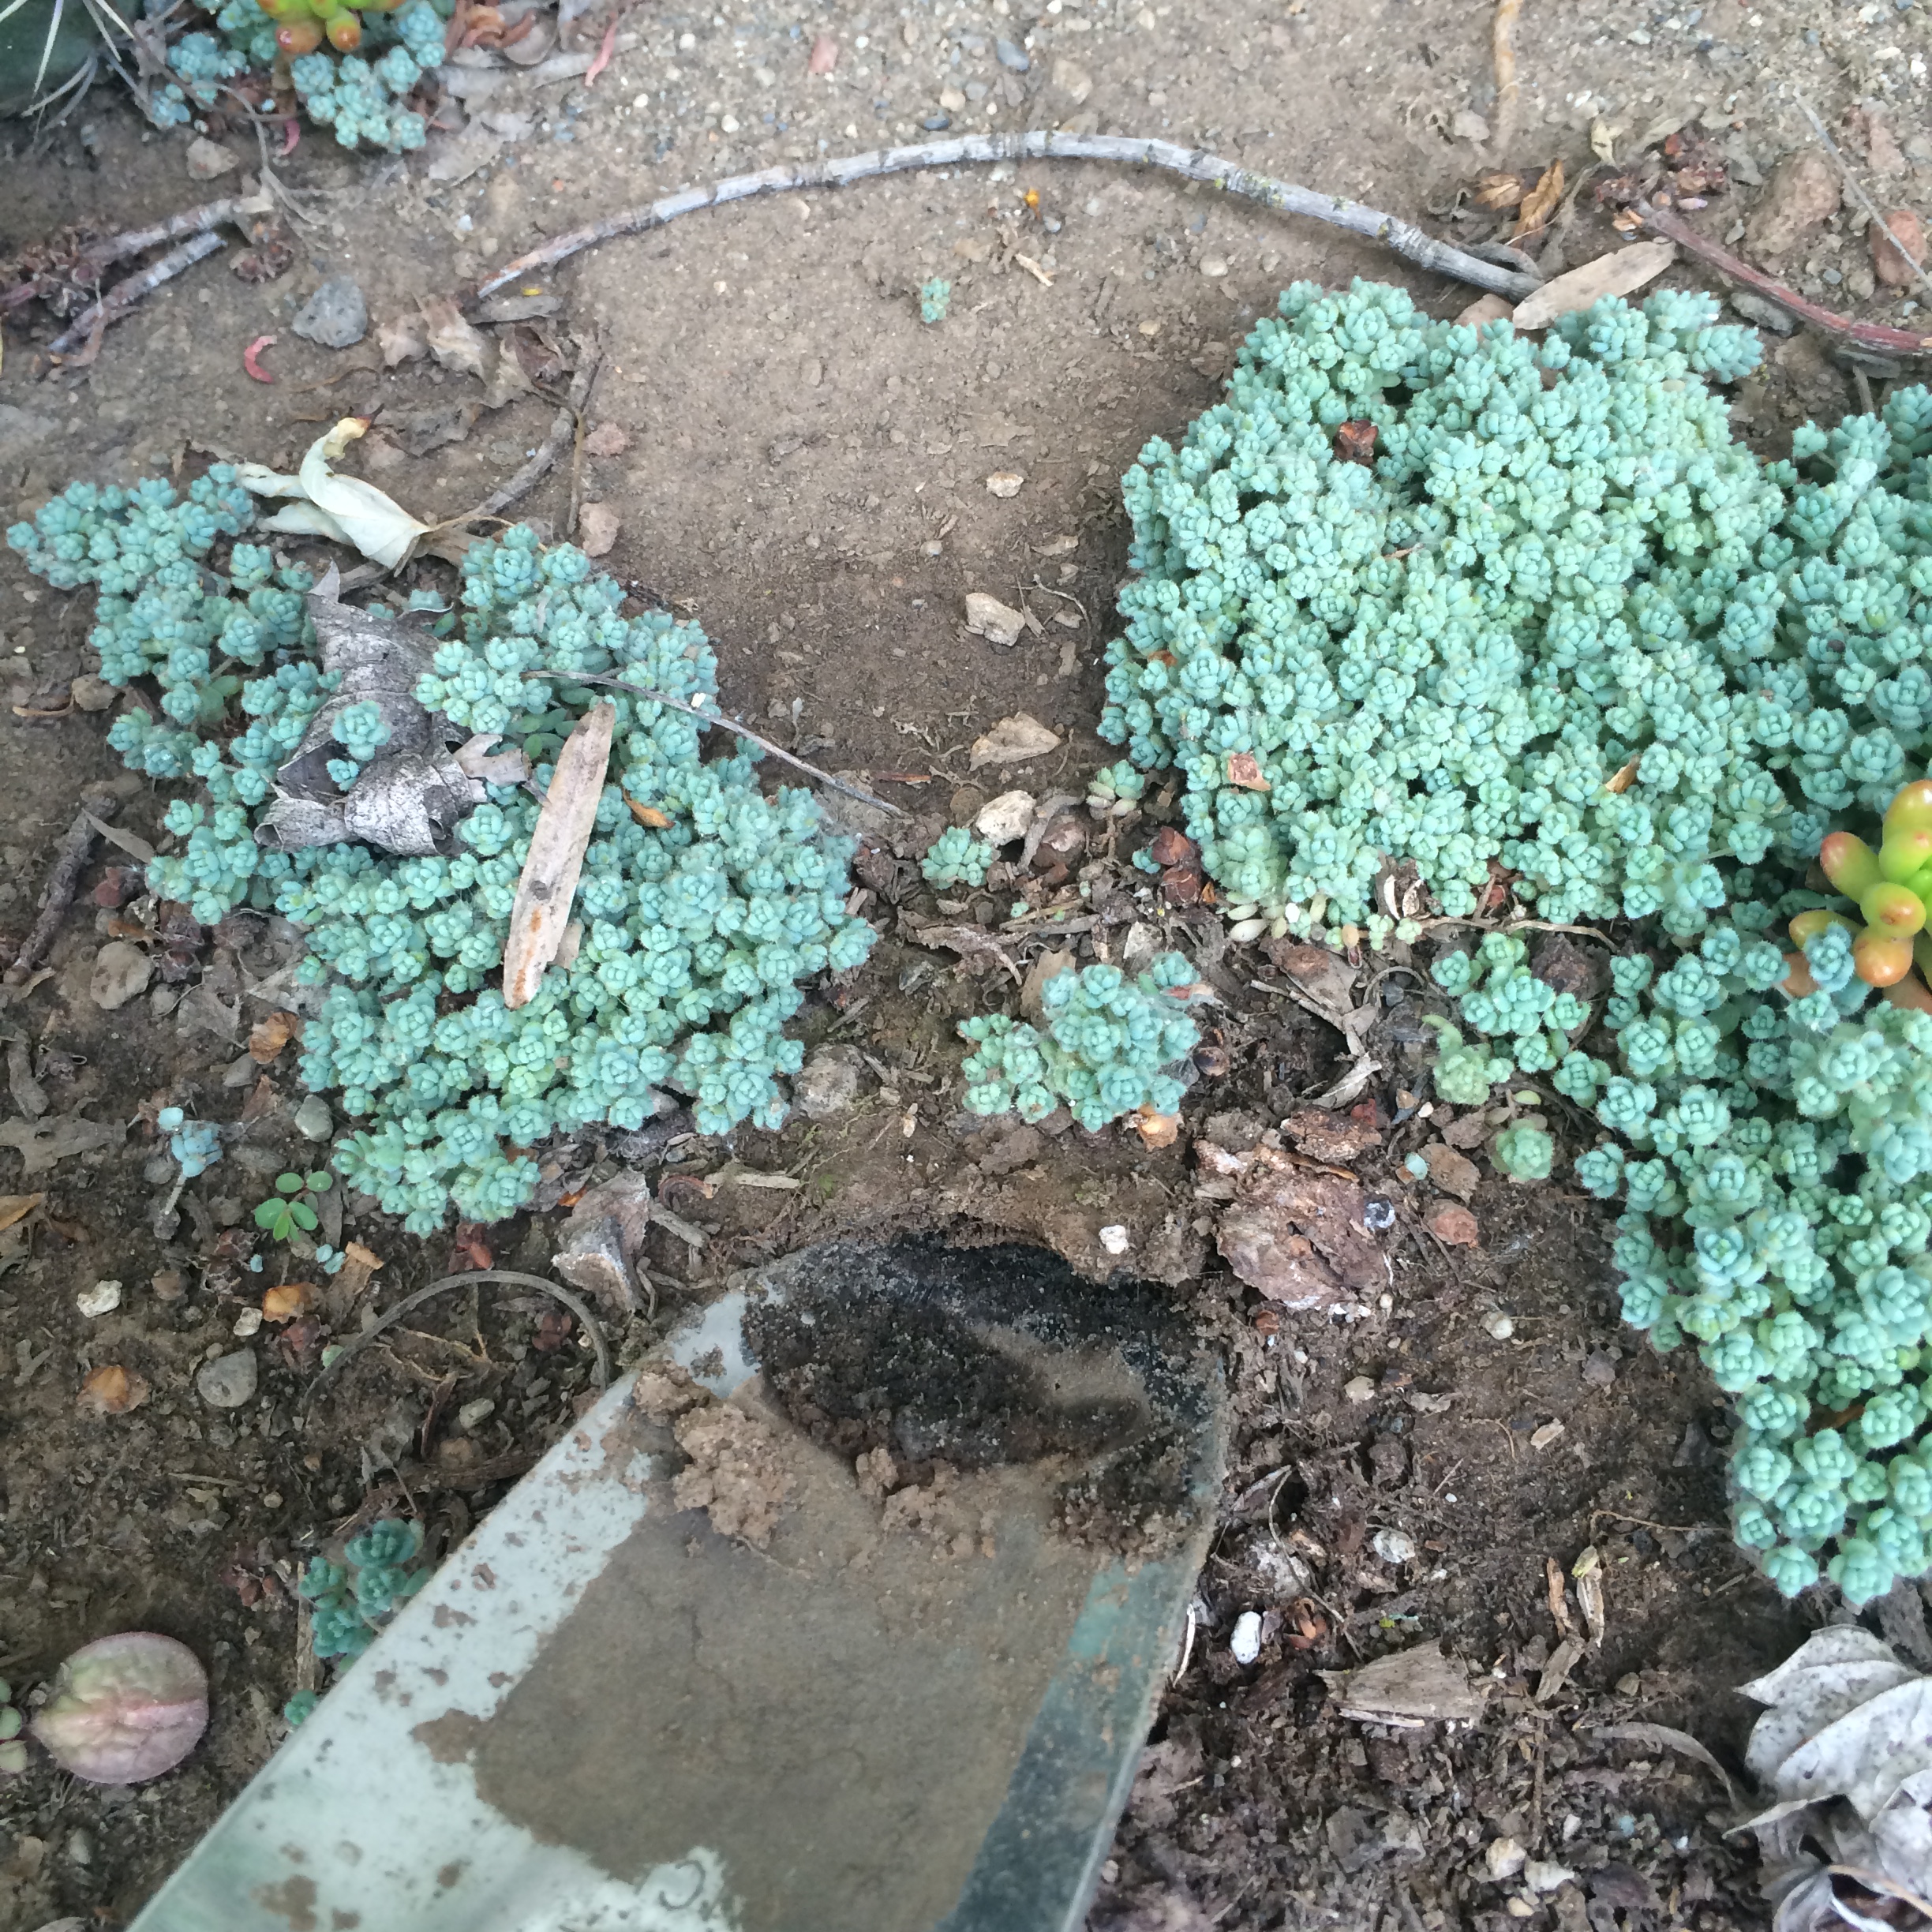
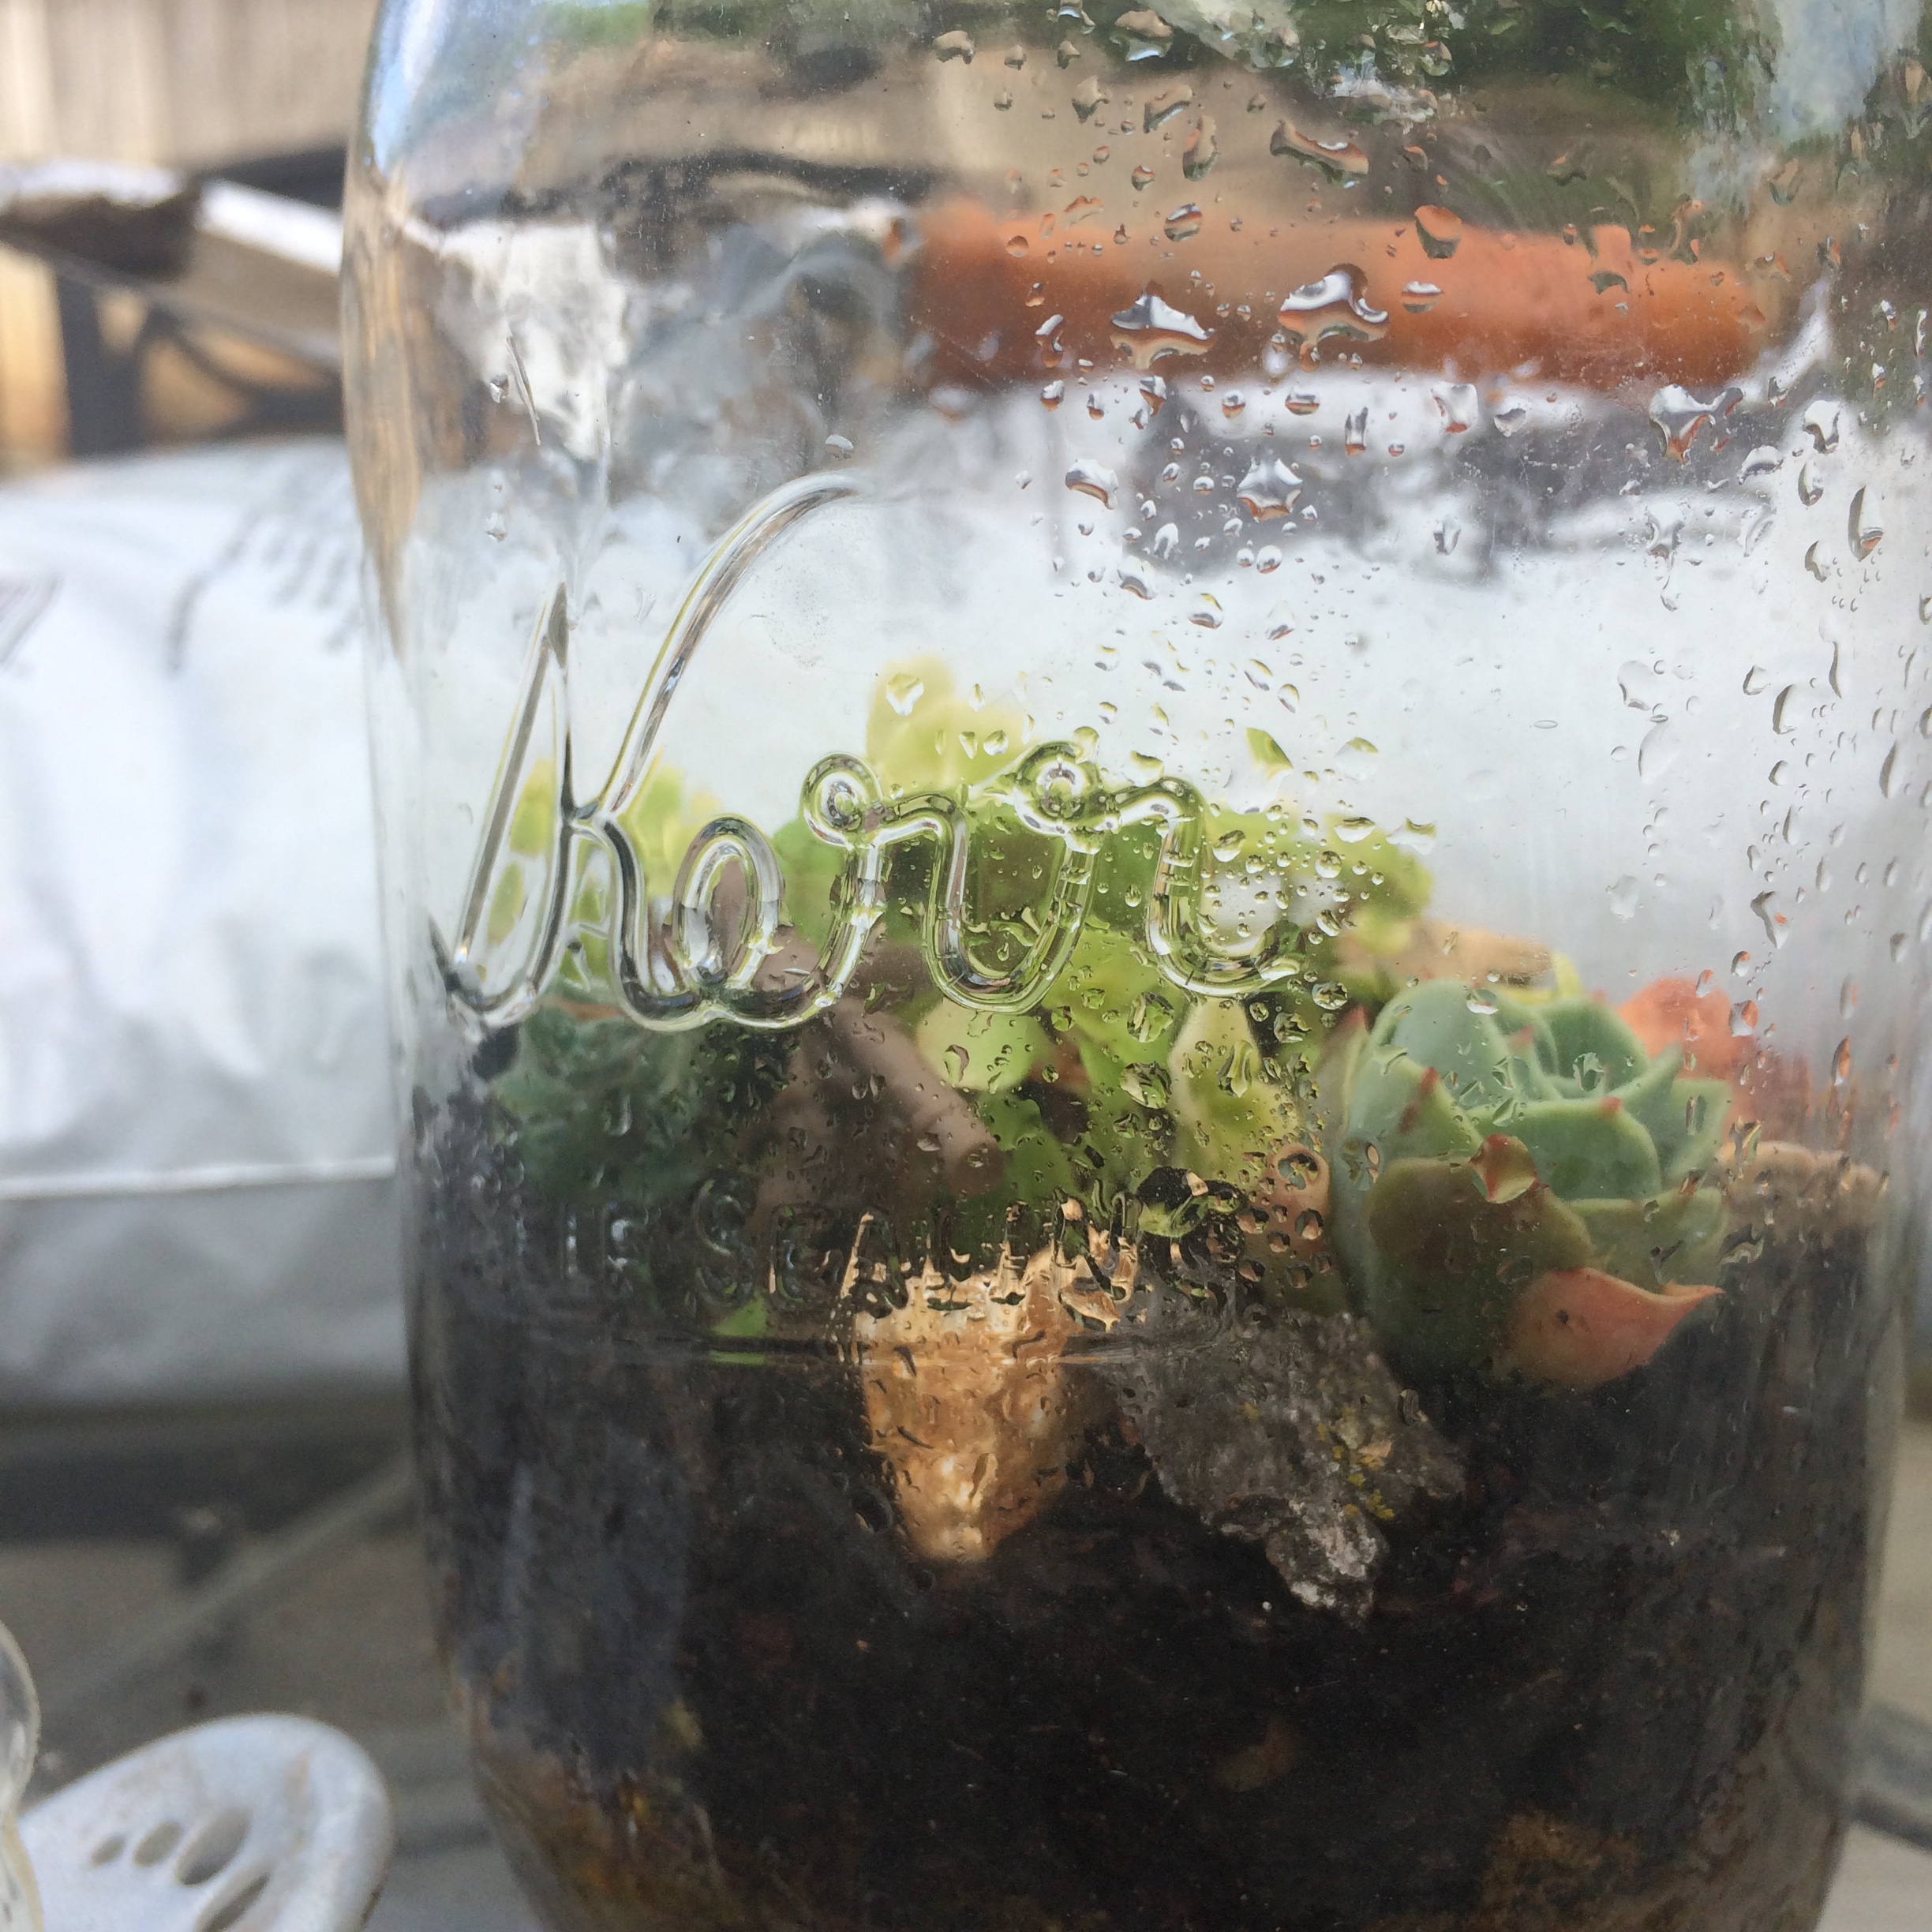
Take a moment to choose your mini plants. I have a small succulent garden that is slowly growing already. I decided to just pick a few of my own guys. The key: The smaller the better because it will GROW over time. I chose a small Hen and Chicks and a couple types of Sedum.

No need to get crazy on a million plants. If the terrarium looks a little sparse don’t panic. Plan based the fact that they will grow.
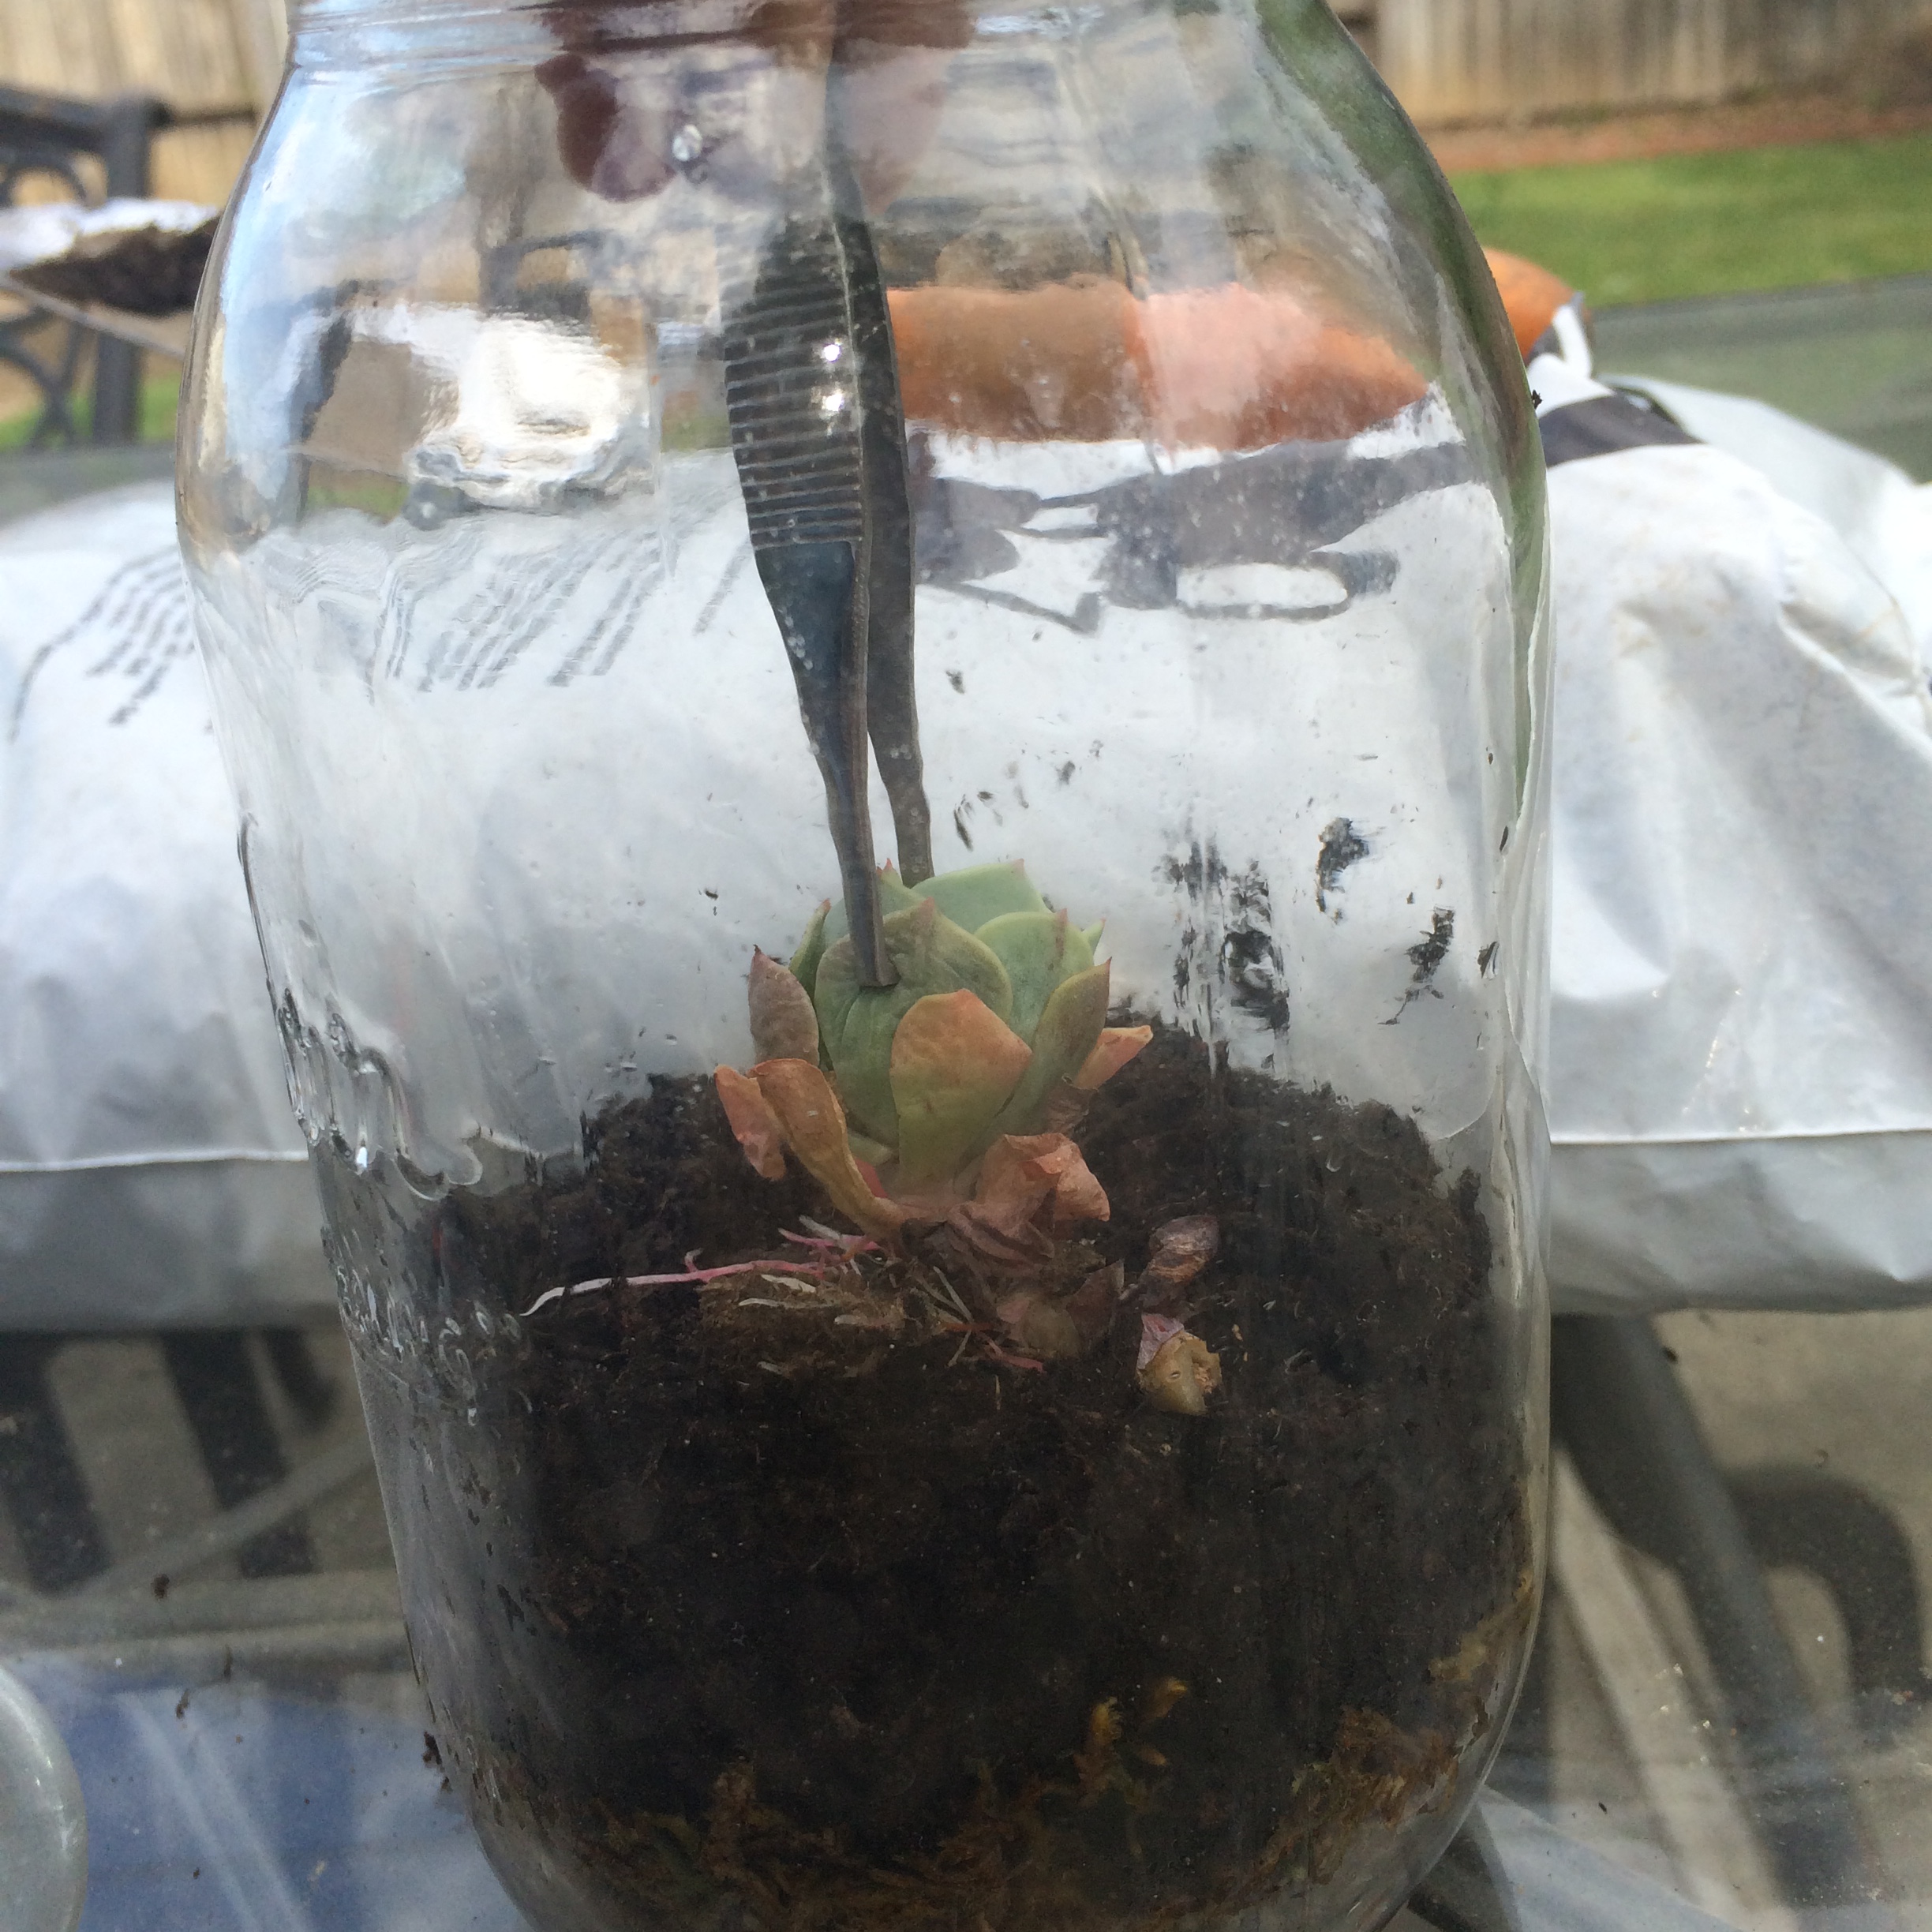
Put in a layer of soil in your jar. You can spritz the dirt to moisten if it seems too dry. You only need enough soil to cover the roots of the plants, but added soil will lift your garden higher. Maybe you like that. Do what you want! You can spoon in extra soil as needed once you have them in place. I use long tweezers, a chopstick, and a toothpick to get the job done. This is the hardest part, but is fun. Tiny kid hands work great too. If you have a plant that seems to lean to one side and you can’t get it placed ‘just right,’ you can use a rock to aid in your efforts.

Add decoration like small rocks, sand, twigs, or miniature fun stuff. I chose rocks, an army man, and a small can of beer (don’t judge me).

Spray down the inside of the jar to rid the sides of dirt, clean the plants, and moisten the soil. Then use a tissue to, ever so GENTLY, wipe down the inside of the terrarium.

For a mason jar, put the rim on the jar but not the lid portion. You do not want to cover the top of this container or it will mold and die. I tied some kitchen twine at the top too! Cute, but not obnoxious.


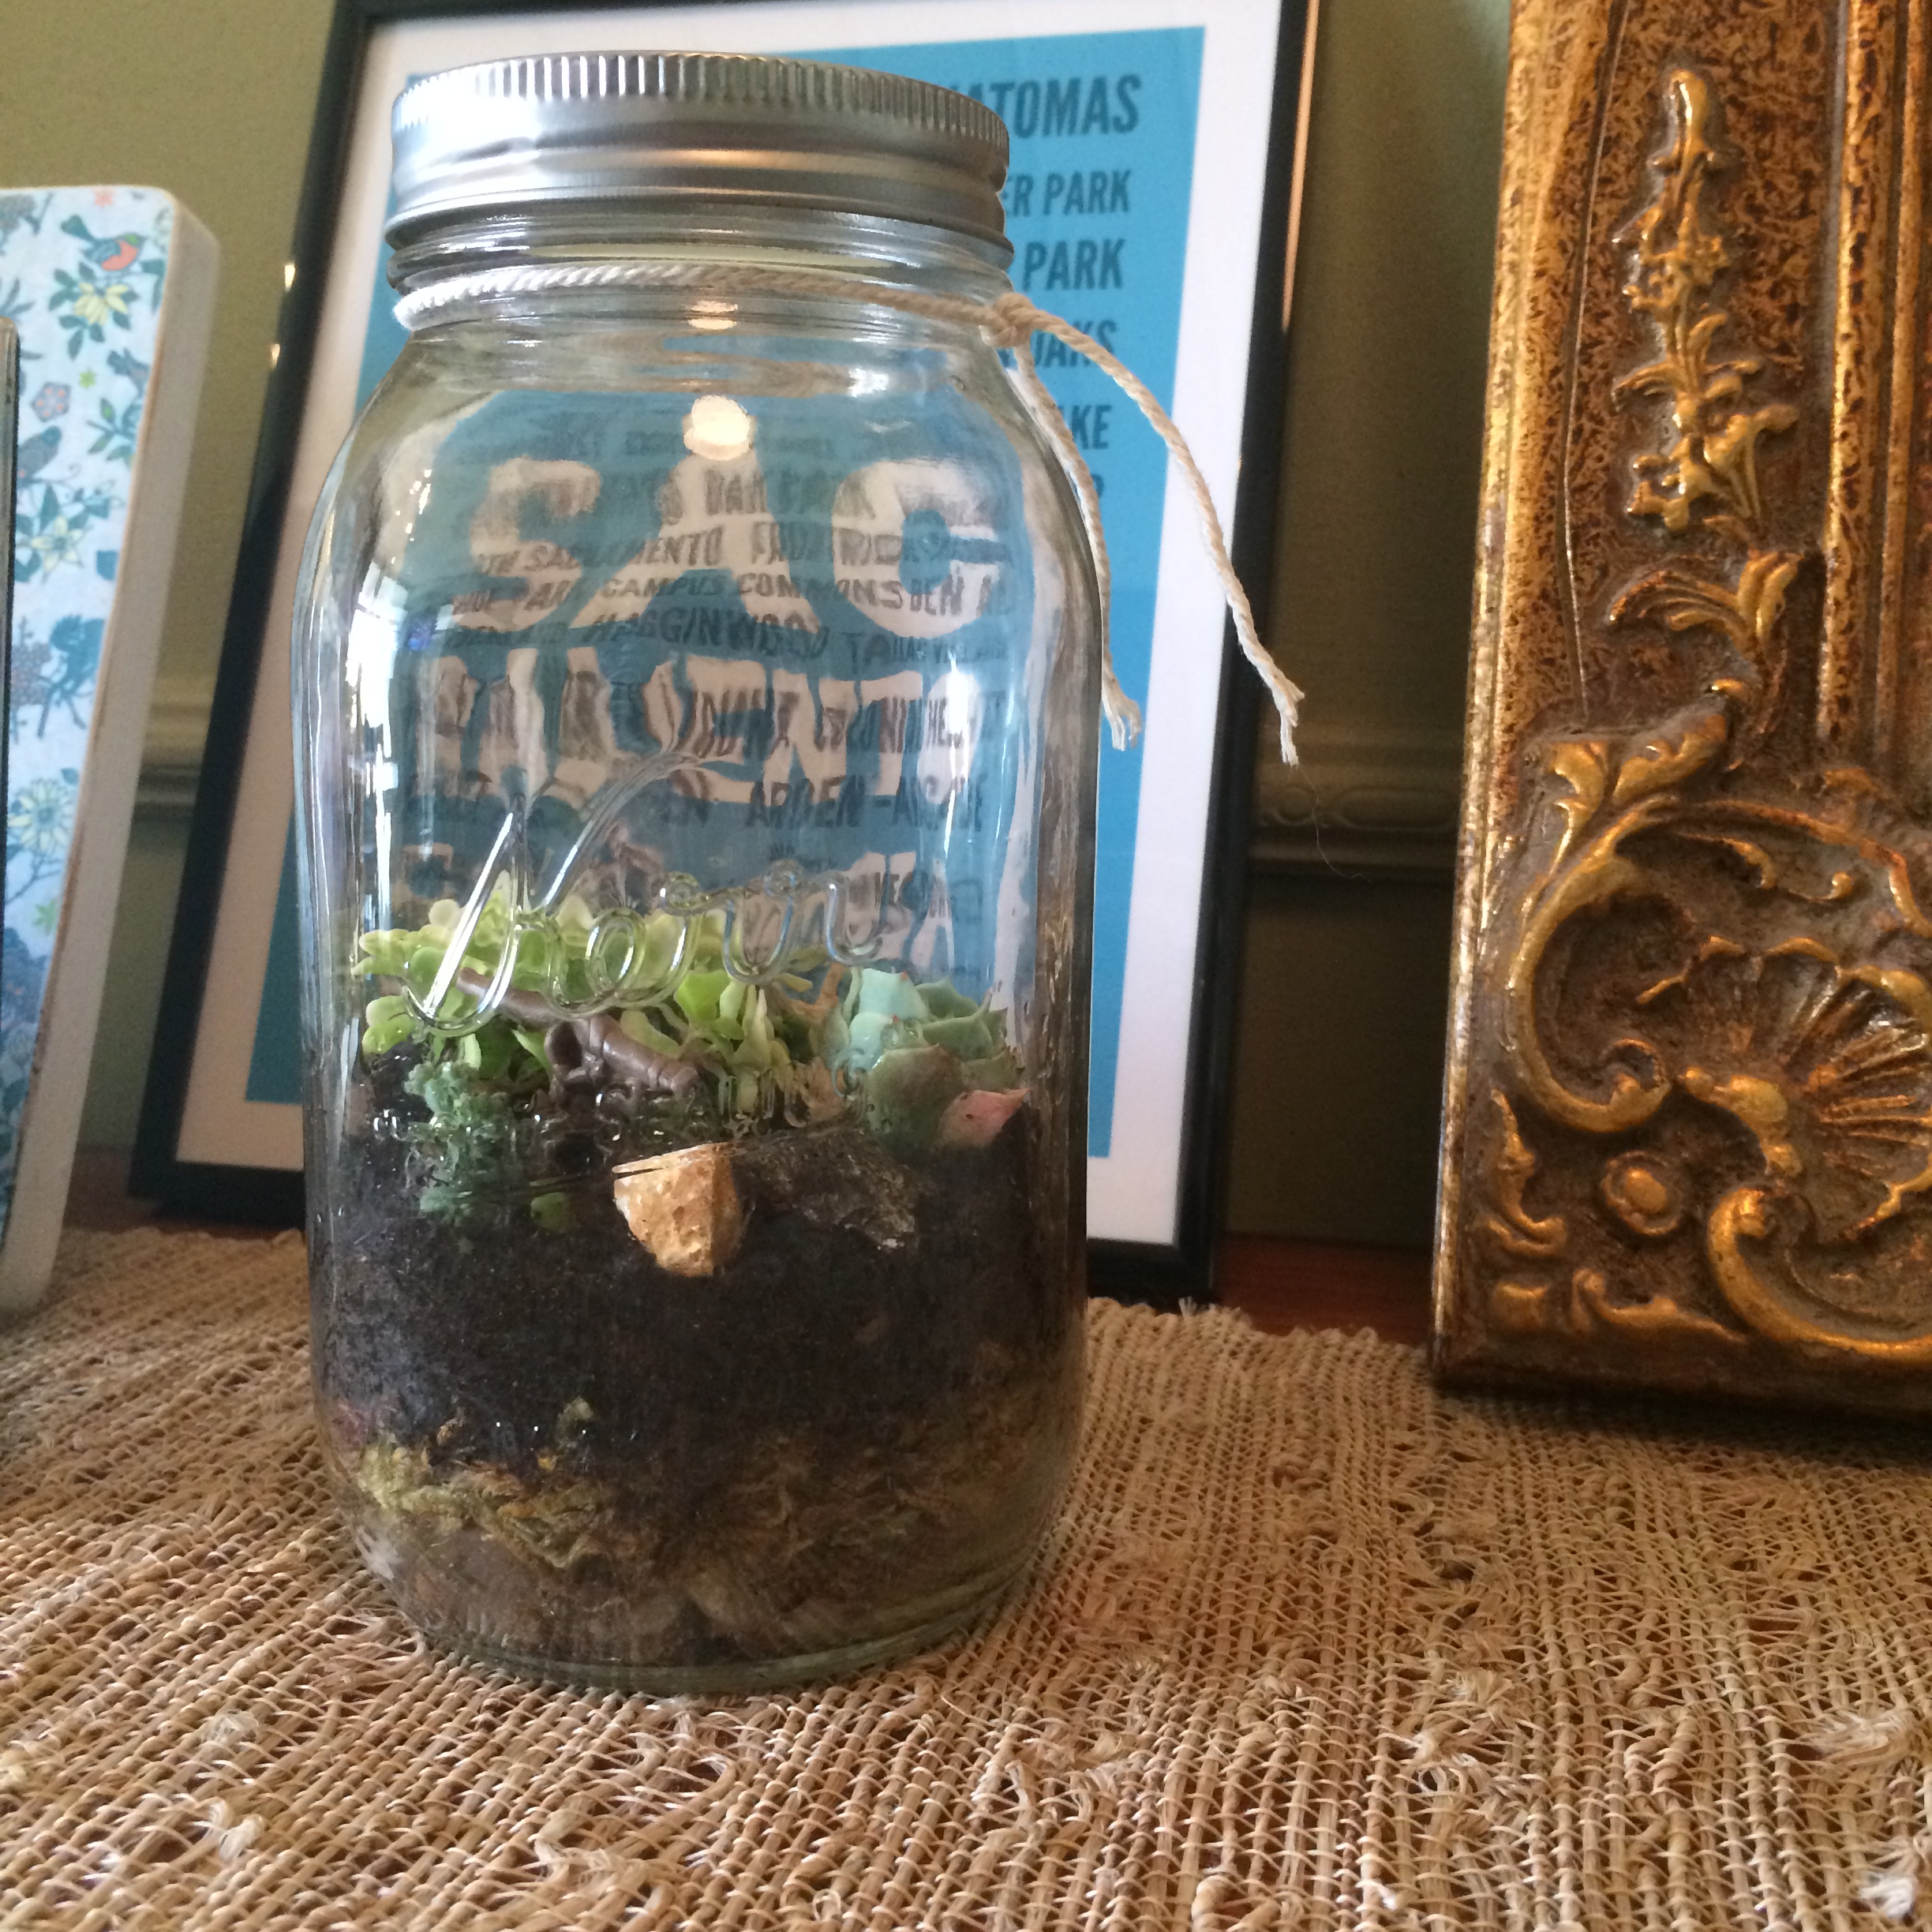
Enjoy! With Father’s Day around the corner, this might be right up your ally! These do great in offices, in kitchens, in kid’s rooms, and you only need to lightly water them when you actually remember. And let’s face it, as parents, there is no way we will remember. But hey, your kid(s) might remind you.
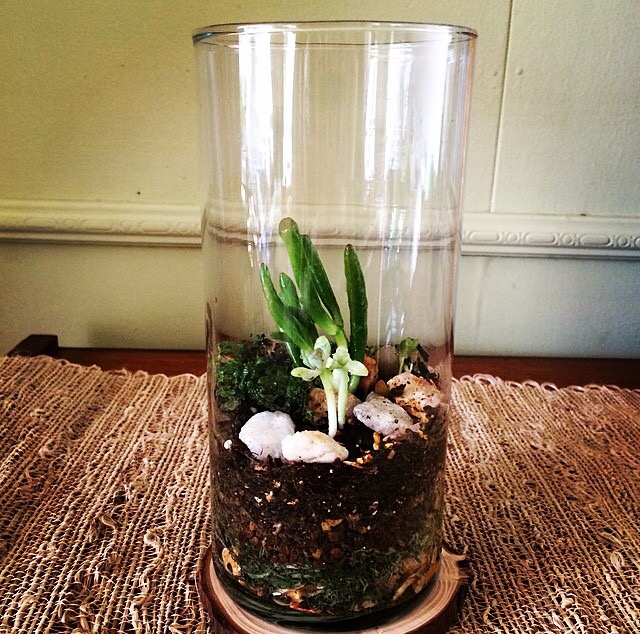
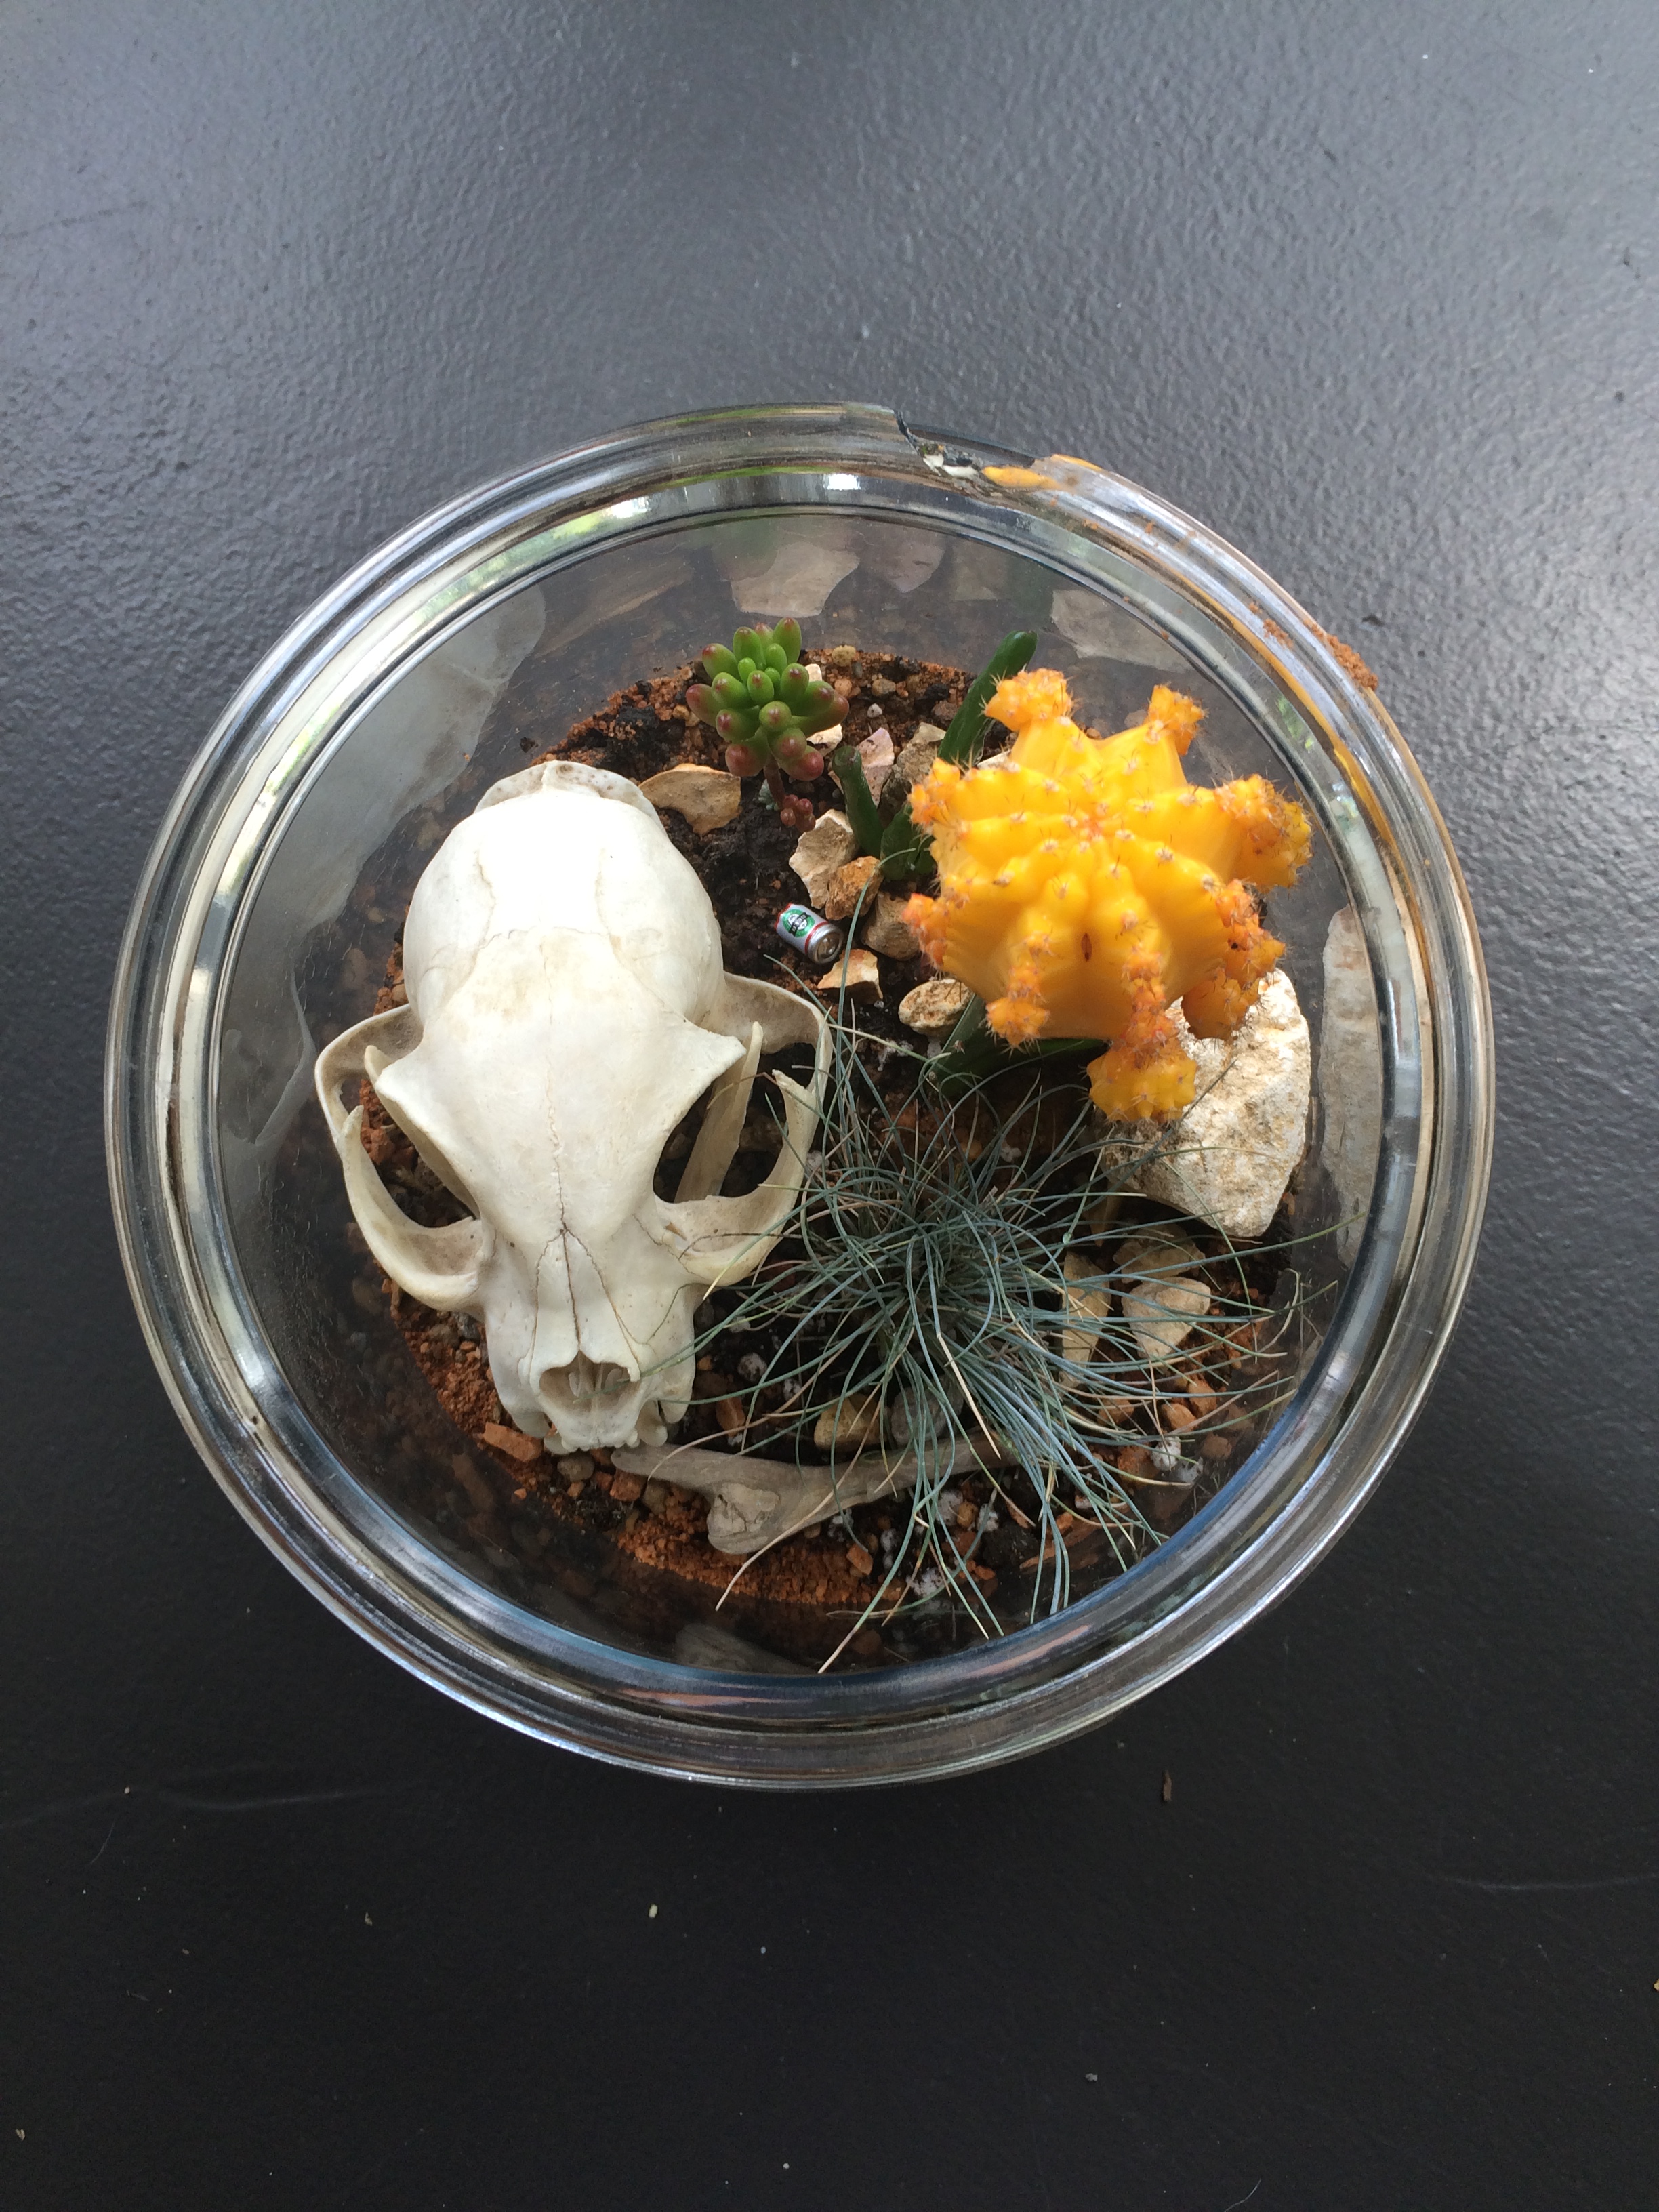
Here are a few other terrariums I have done in the past to help inspire you:


Here are some links to a few great terrarium books I use as references:
Tiny World Terrariums
Terrariums Reimagined
Succulents Simplified: Growing, Designing, and Crafting With 100 Easy-Care Varieties
Written by Mariah Cook. She and her husband live in Sacramento with their one minion.


