The end of summer is near. For me, this means two things. Kids are heading back to school and I have way too many tomatoes in the garden for my family to eat. Let’s focus on those tomatoes for a second. As much as I love having my family and friends over to have their own harvests, I want to preserve as many as possible for the winter. At the same time, I don’t have time. I also want my kid to be able to help me, or at least pretend to help, long enough for me to accomplish my task.
That’s why we are making sun-dried tomatoes.
For this task, you will need a food dehydrator or access to a friend’s. Yes, you could use your oven; however, with the summer heat outside, the less I need to use my oven the better. If you have a garden or you can’t beat the deals you are seeing at your local farmer’s market, buying a dehydrator might be a great investment.

NESCO is what I have – it’s on the low end but works great
Things You Need:
Tomatoes (I use Roma, Ace, and San Marzanos. Smaller sizes shrink too much. The bigger the better.)
A paring knife (To be used by a grown-up.)
Little thumbs (Kid fingers happen to be the perfect size.)
Kosher salt
Basil (Just another fun way to use your dehydrator if you are feeling inspired.)
Preparing Your Tomatoes:
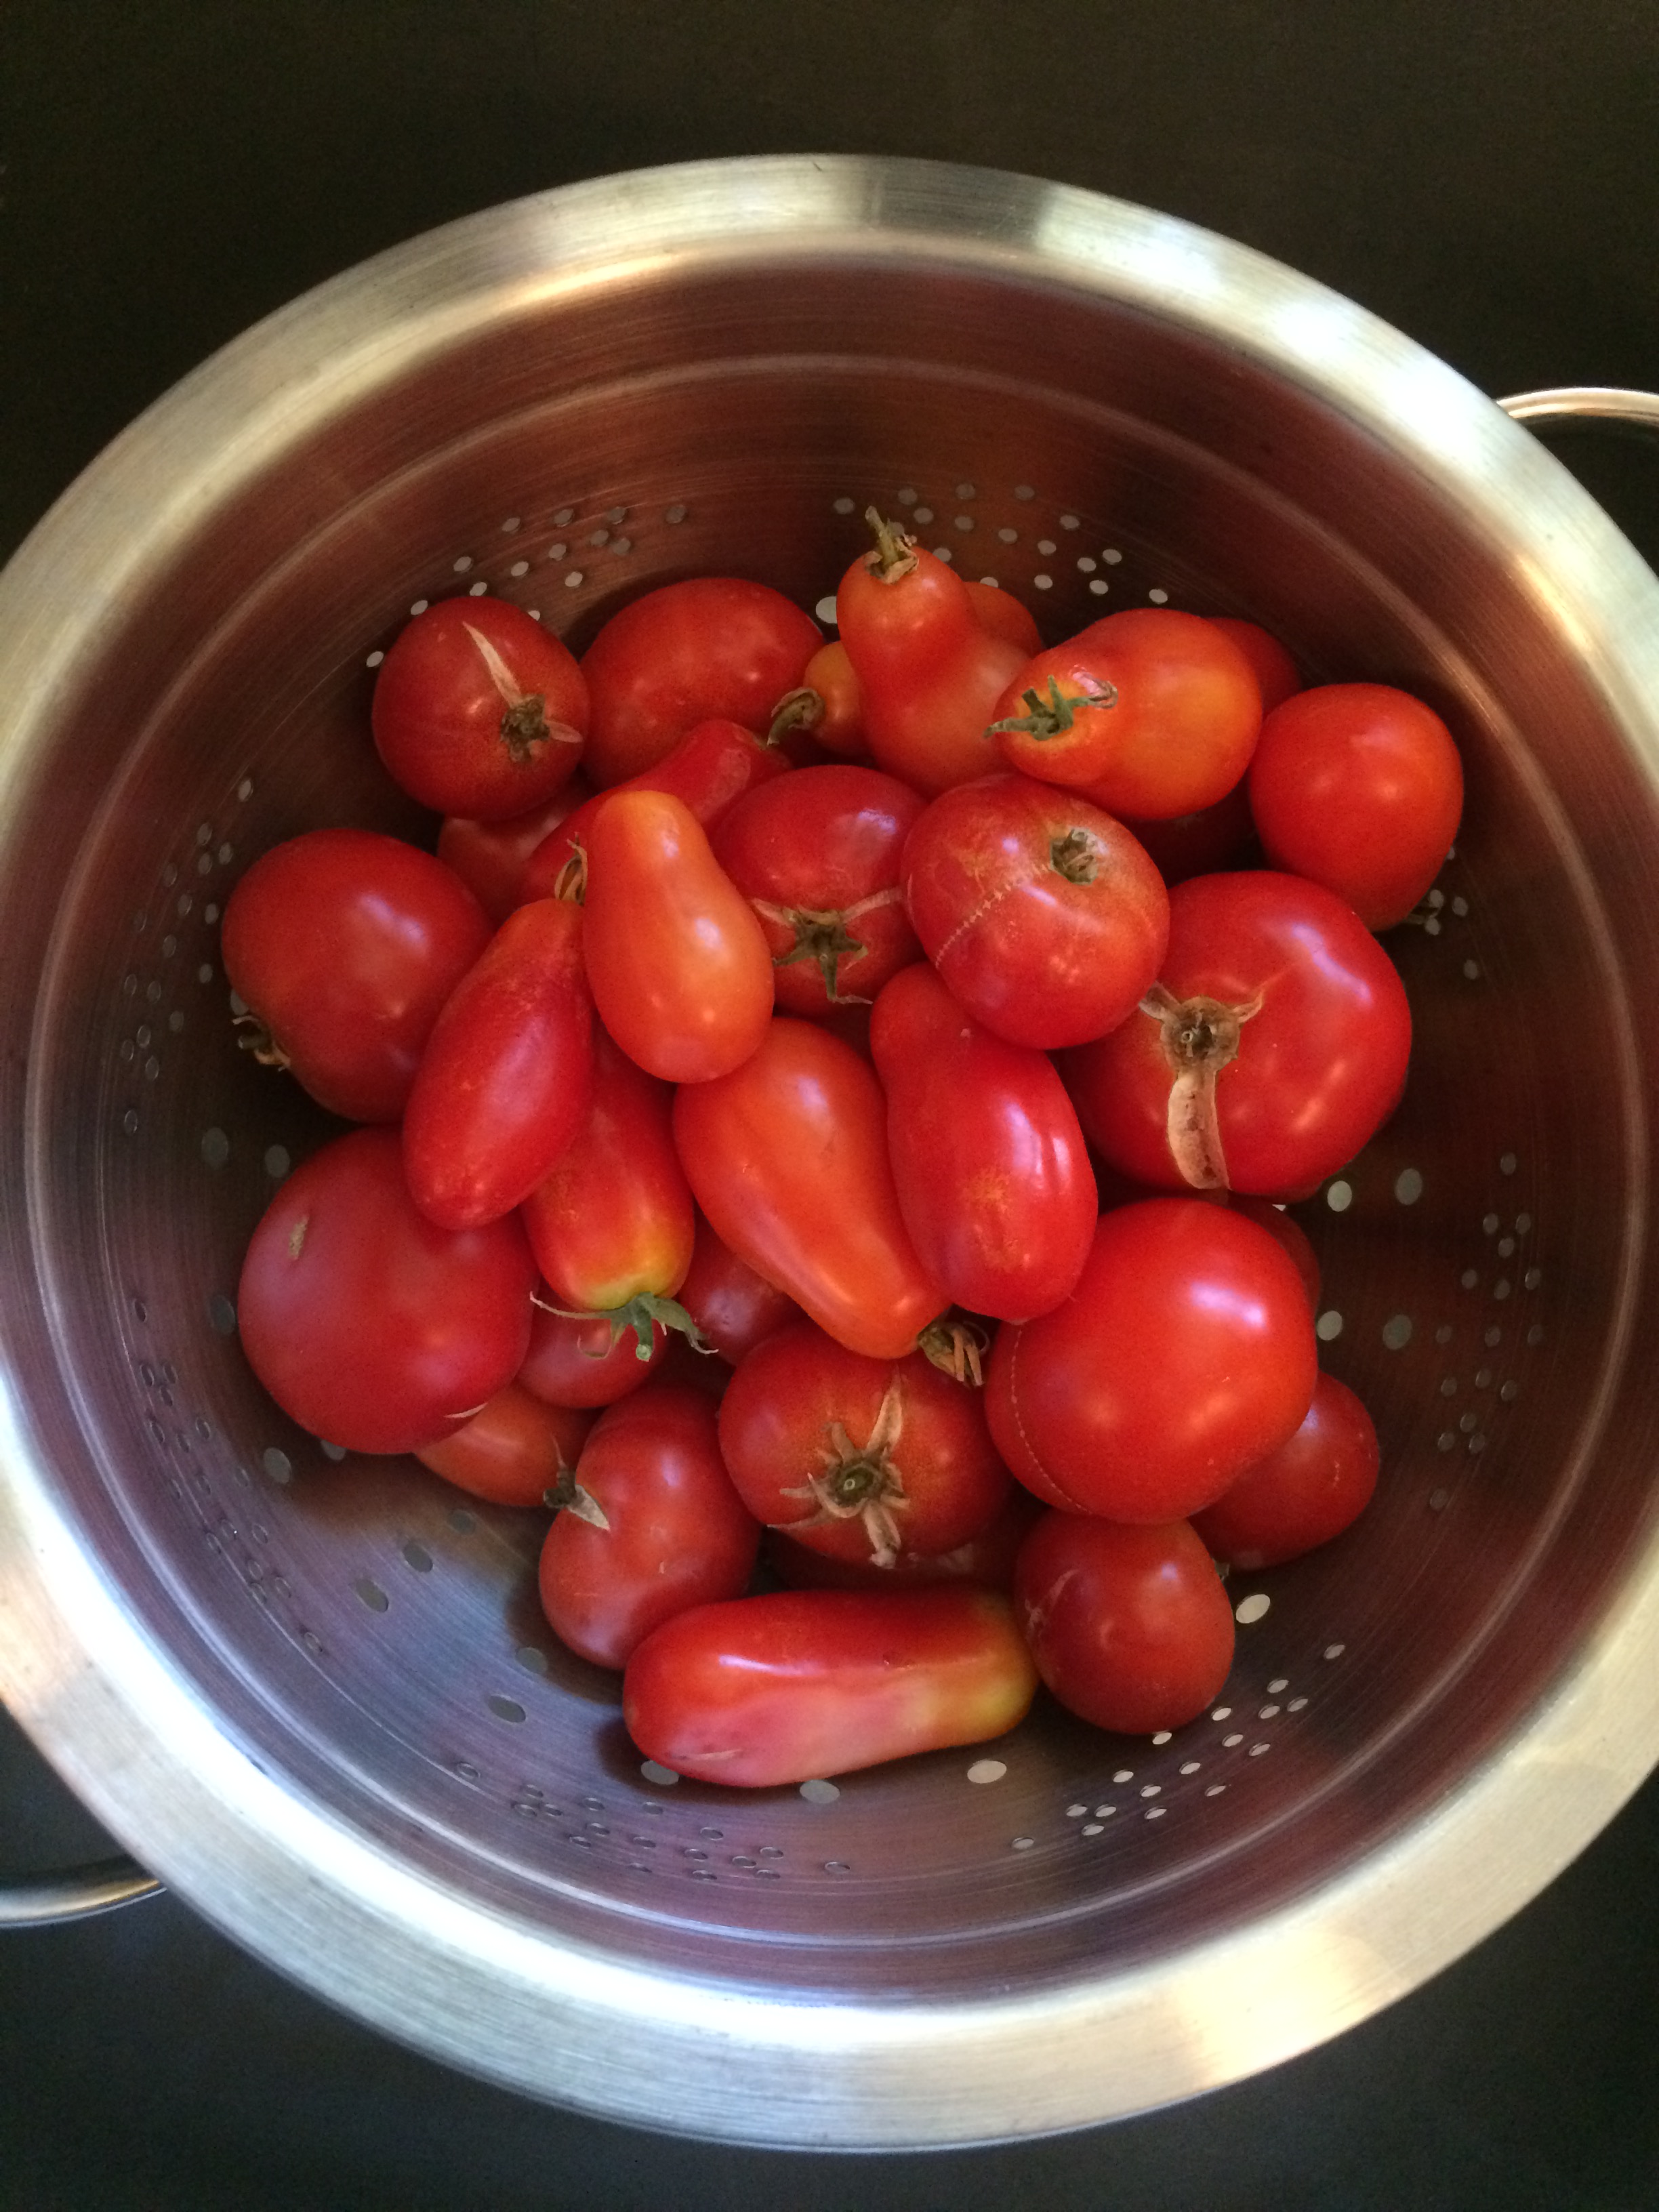
I like to rinse my tomatoes in a colander and leave it in the sink to air dry while I work. I slice my tomatoes in half and get the seeds out using my thumbs. I do this over the sink as well. If the tomato is too large for the dehydrator at this point, I slice the tomato lengthwise, about ½ inch thick. You want a big slab, but you also need to be able to stack your racks. This will help you keep your slices or halves pretty consistent in size as well.
I simply place the slices on the rack, sprinkle with salt and basil, then stack the rack!

work station

single layer, sprinkled with salt and basil, ready to go
Culinary Note: Many recipes recommend boiling your tomatoes first before slicing and seeding. This isn’t mandatory, but a matter of taste. I don’t have time to boil, cool, and peel a hot tomato. Just placing them on the rack with the skin on is enough for my family and they taste great.
Drying:
ust like you and I, dehydrators are all different, so read your manufacturer’s manual for their recommended dry time. I dry mine for about 10-14 hours. It’s like a crockpot, right?! You just get it ready and leave it be.
The key is to check after the minimum time. You want a tomato that is like dried leather versus a crunchy dead leaf.

finished and ready to freeze
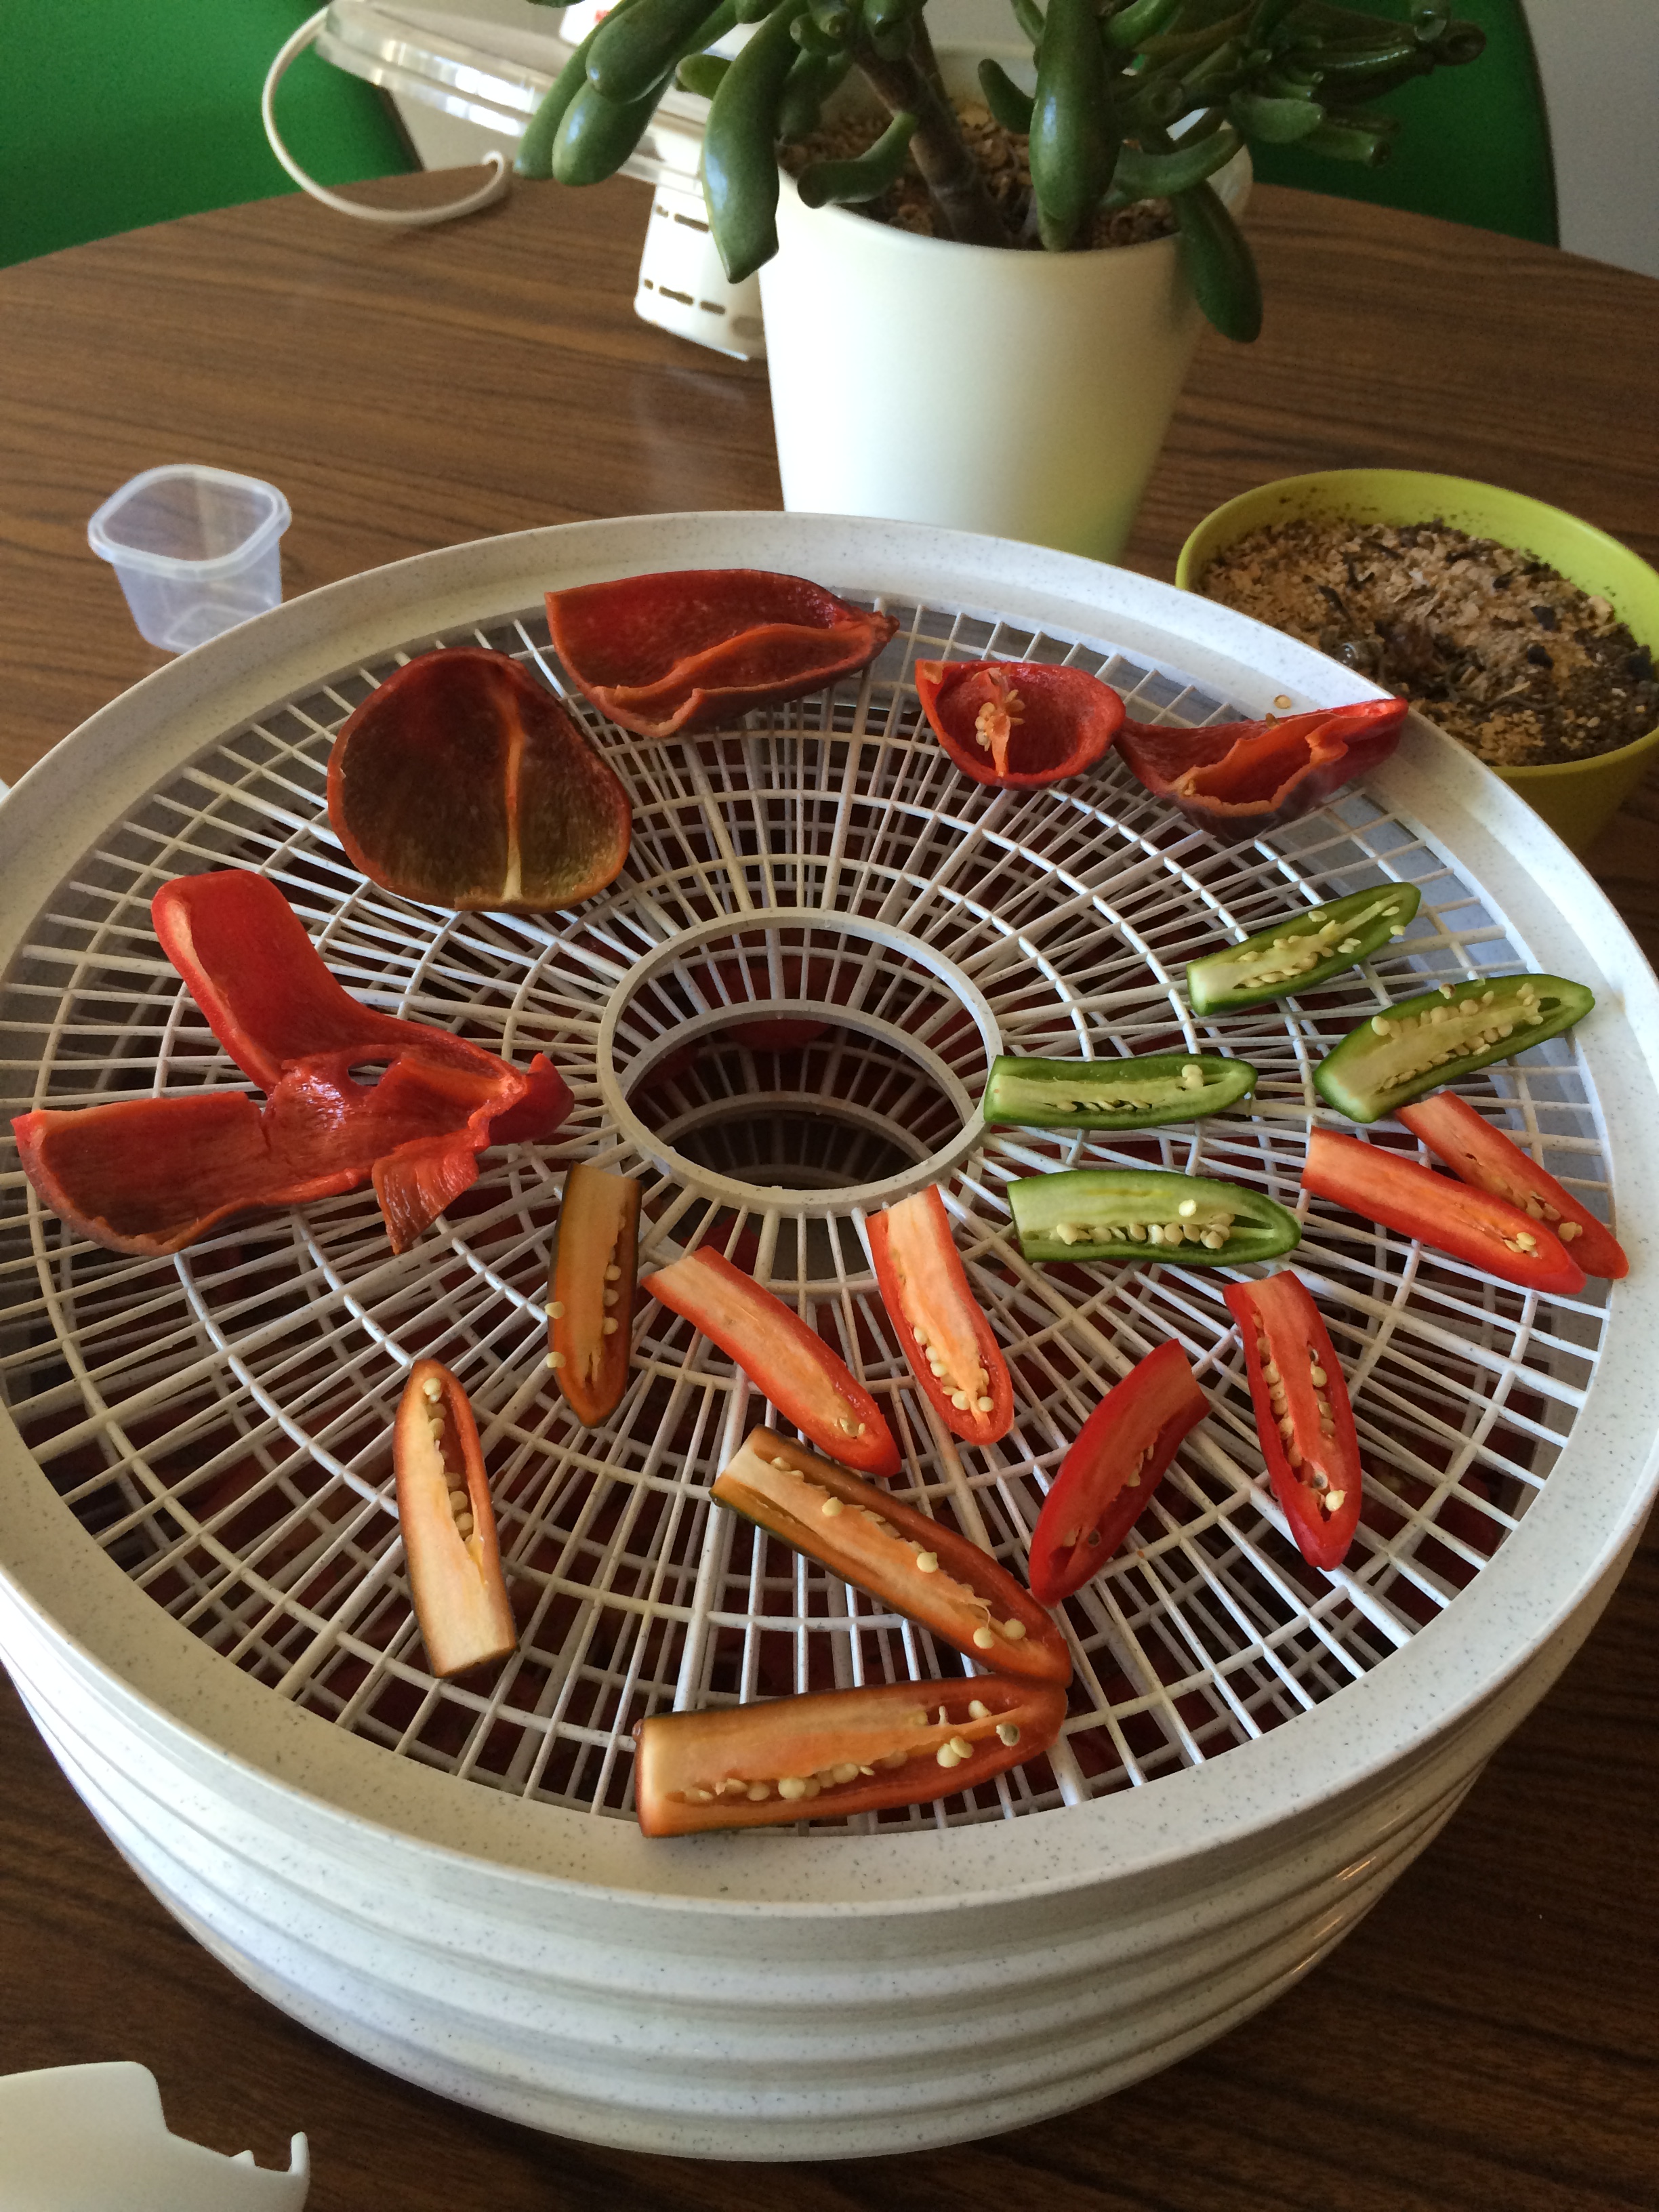
Culinary Tip: If you have a lot of hot Serrano or Poblano peppers, you can cut them in half and dry them on a separate rack. They use the same amount of time to dry! You store them the same way as the tomatoes.

serrano peppers and pablanos
Storage:
Dried tomatoes need to be in an airtight environment like a ziploc bag and placed in the freezer.

get all the air out and they are ready to freeze
Questions About Storing Dried Tomatoes in Oil:
Can you do it? Sorta. You can soak them in oil with a sprig of any herb for up to 24hrs in a closed container like a mason jar. I have not found a safe way to can dried tomatoes in oil in a home kitchen for long-term storage. If you have, leave me a comment! I’d love to know!
Ideas for Use:
Aside from the common stuff like pizza, sauces, and salads, you can use them as part of a gift basket for holidays and/or birthdays! People love things made from the heart-I know I do.
Written by Mariah Cook. She lives in Sacramento with her small son and big husband.